Creating Map Statuses
Before starting, it is highly recommended that you follow the other modding tutorials like Creating Moves tutorial as this tutorial is more involved and will move quicker. Make your game is set to a mod in Modding Intro so that you’re editing a mod instead of the base game.
We want to add a terrain that does the following:
- Boosts the power of Dark-type moves
- Lowers the Attack Range of non-Dark and Ghost type Pokémon
This will involve modding the terrain, creating the move to spawn the terrain, and also writing a custom Lua BattleScript! We'll be using Electric Terrain as the base.
Creating the Terrain
Begin by creating a new map status in the MapStatus list.
Click on [Add]. Name the map status and click [OK].
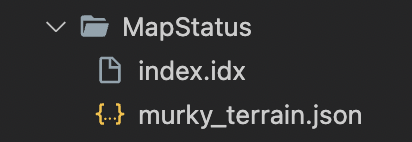
You should see your new map status at the bottom of the list! A new file called "murky_terrain.json" should have also appeared in "PMDO/MODS/{MOD_NAME}/Data/MapStatus".
Now, locate "electric_terrain.json" in "PMDO/MapStatus" and open it with your text editor of choice. You should see something like so:
{

"Version": "0.7.12.0",
"Object": {
"$type": "RogueEssence.Data.MapStatusData, RogueEssence",
"Name": {
"DefaultText": "Electric Terrain",
"LocalTexts": {
"fr": "Champ Électrifié",
"de": "Elektrofeld",
"es": "Campo Eléctrico",
"zh-hans": "电气场地"
},
...
Copy everything in "electric_terrain.json" and replace the contents of "murky_terrain.json". If you click on murky_terrain in the MapStatus, you should see something similar to below:
Do the following actions shown below:
- Rename the Name to Murky Terrain (Delete the other Local Texts)
- Rename the Desc to "Dark-type attacks are boosted, and non-Dark and Ghost type Pokémon have their Attack Range lowered." (Delete the other Local Texts)
Then, click on [Edit] under Emitter
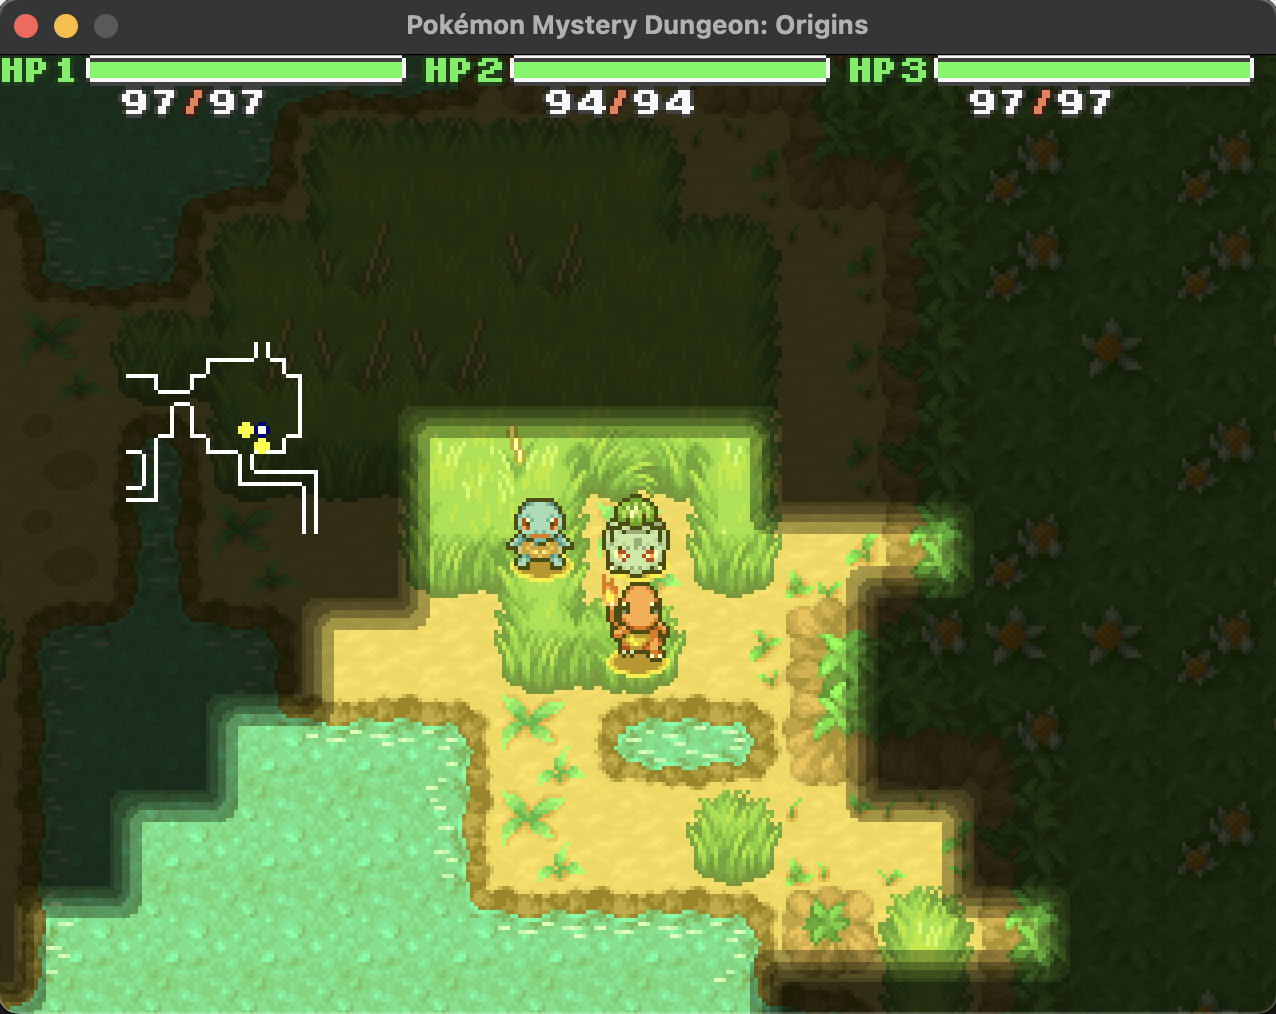
If you click [Test] while in a dungeon, you'll see the effect below.
We want to have a dark fog effect instead!
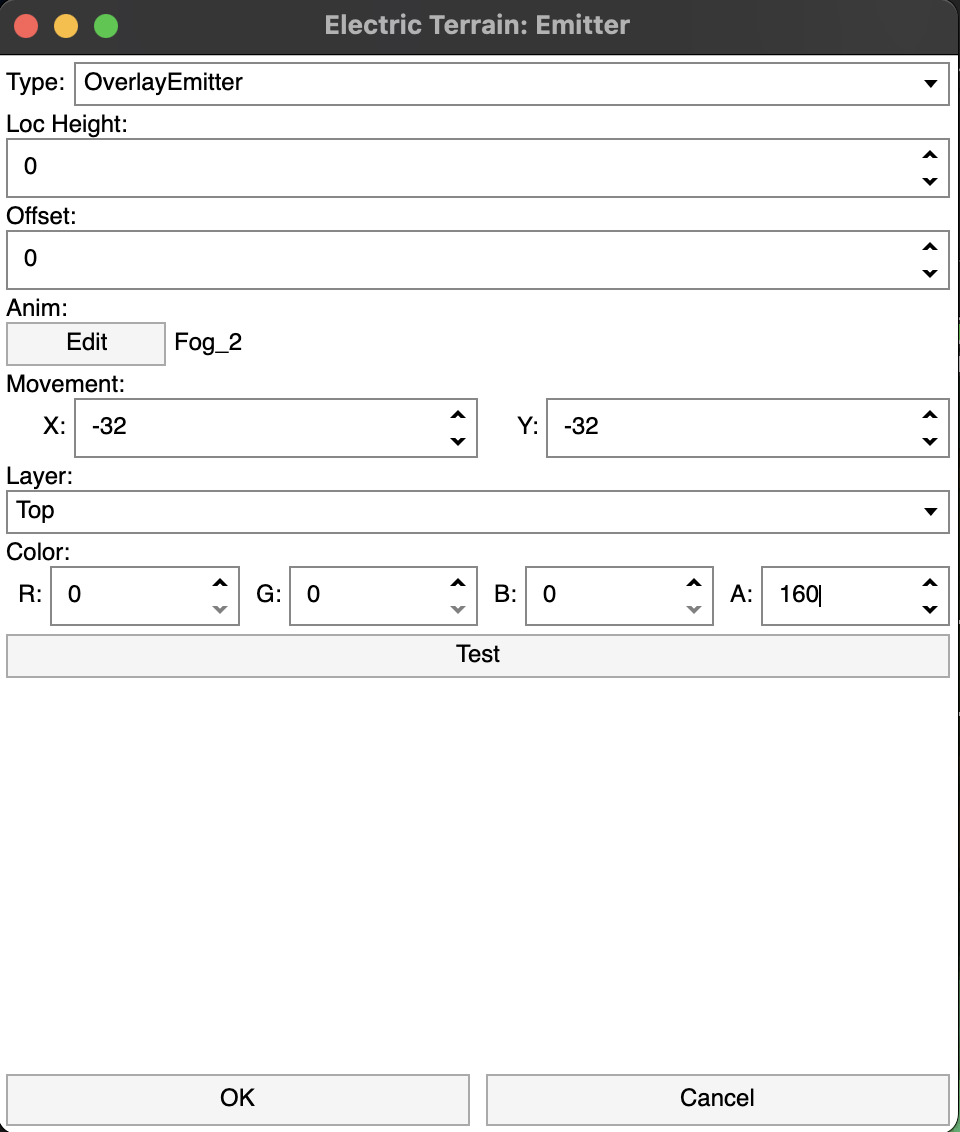
Click on [Anim]. Set the Anim Index to be Fog_2 and click [OK].
Then do the following and compare to the results below:
- Under Movement, set X = -32 and set Y = -32. This will shift the background continuously
- Under Color, set R, G, B = 0 and set A = 160.
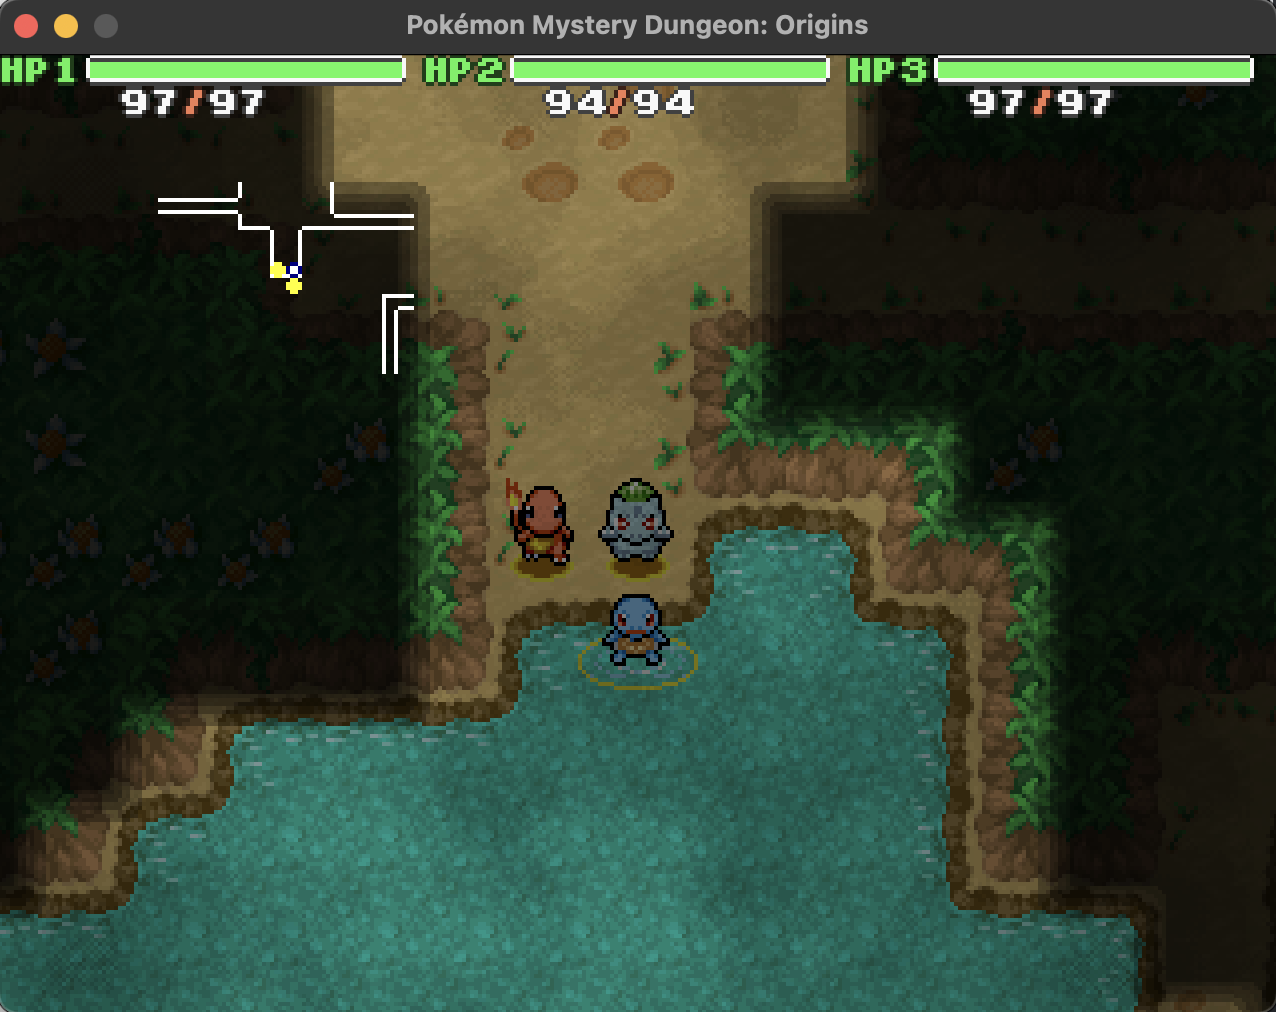
If you enter another floor and test the Emitter again, you'll see the follow animated effect!
Click [OK]
We'll now modify/add events to better suit Murky Terrain!
First, scroll down until you see "Before Status Adds"
Delete all the PMDC.Dungeon.PreventStatusCheck events shown above. These are specific events to Electric Terrain to prevent Sleep, which are not needed for Murky Terrain.
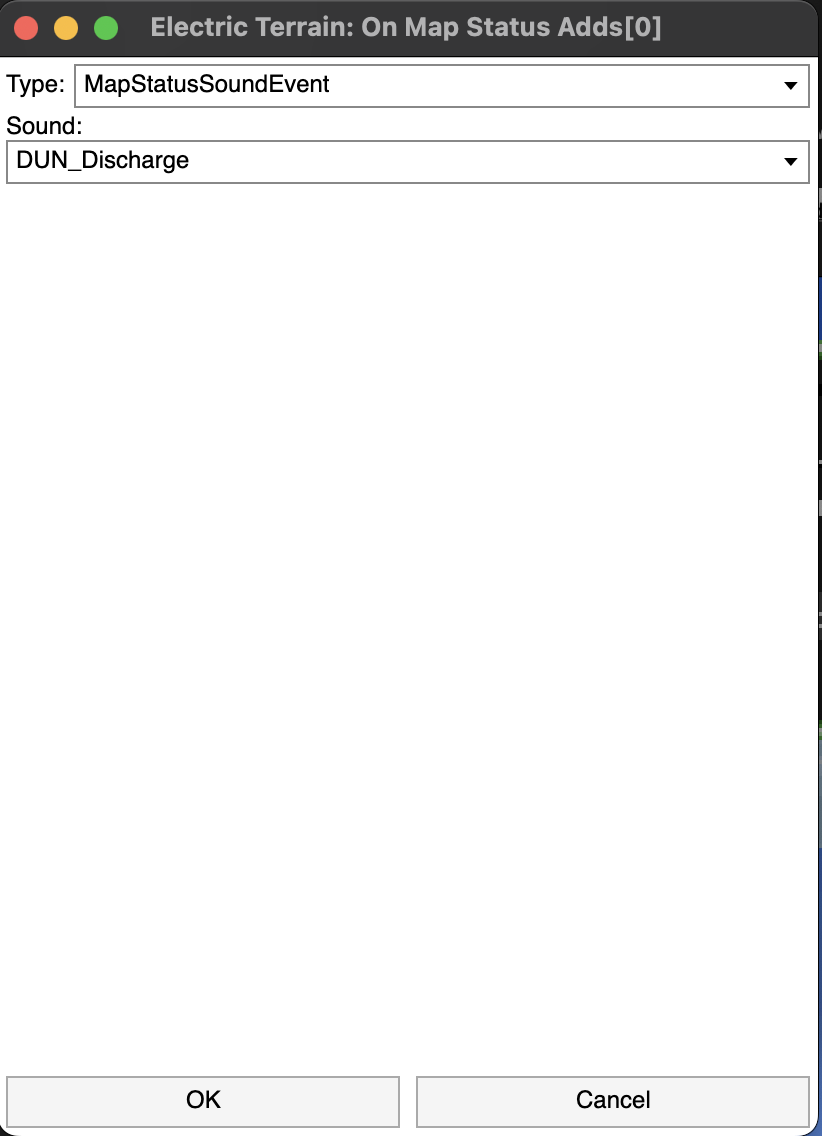
Scroll down down until you see "On Map Status Adds"
Click on PMDC.Dungeon.MapStatusSoundEvent
Change the Sound to DUN_Night_Shade_3 and click [OK]
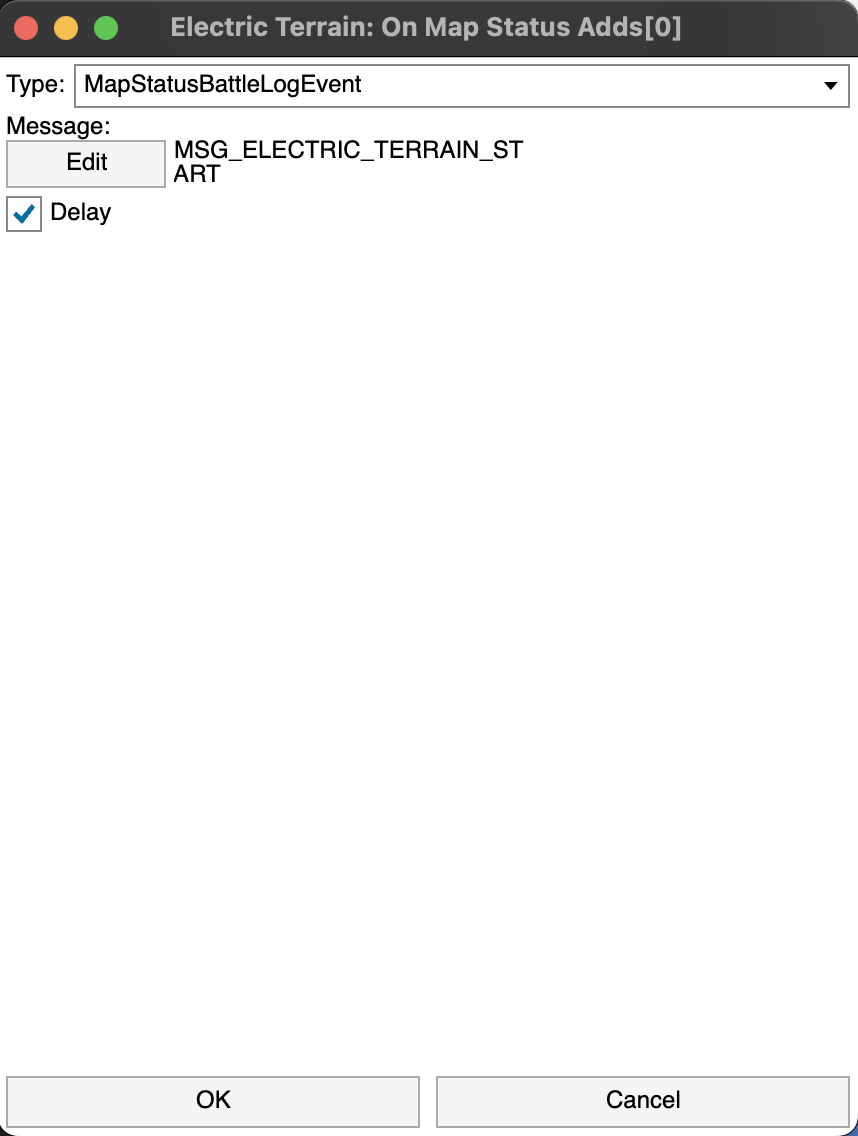
Then, click on PMDC.Dungeon.MapStatusBattleLogEvent
Change the Message to MSG_MURKY_TERRAIN_START and click [OK]. We'll later define our own strings for Murky Terrain.
Then finally, delete all the PMDC.Dungeon.MapStatusCharEvent events. You should have the results shown below.
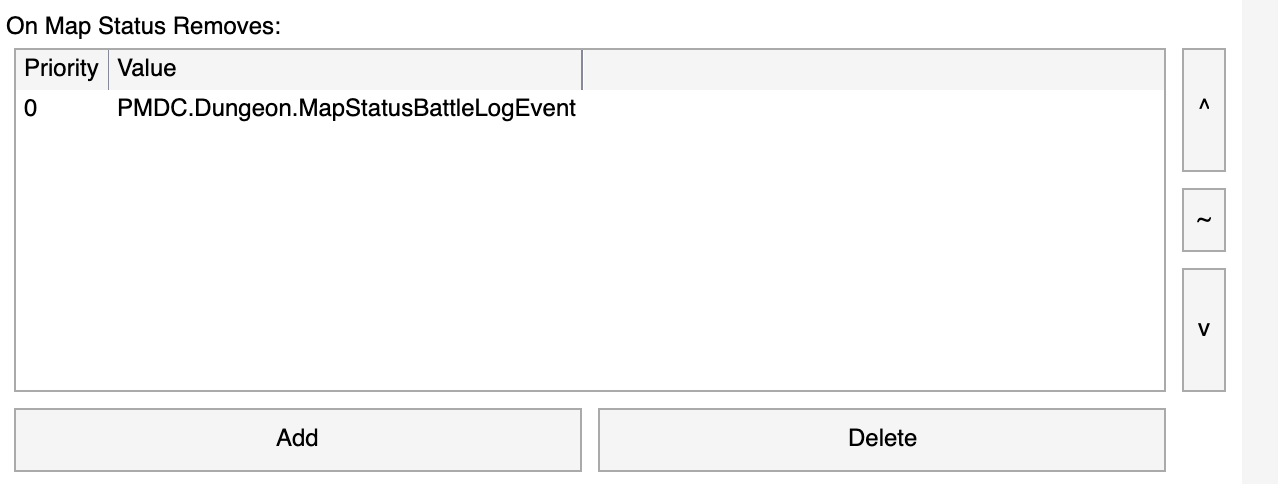
Scroll down to "On Map Status Removes"
Double-click on PMDC.Dungeon.MapStatusBattleLogEvent and change the Message to MSG_MURKY_TERRAIN_END, and then click [OK]
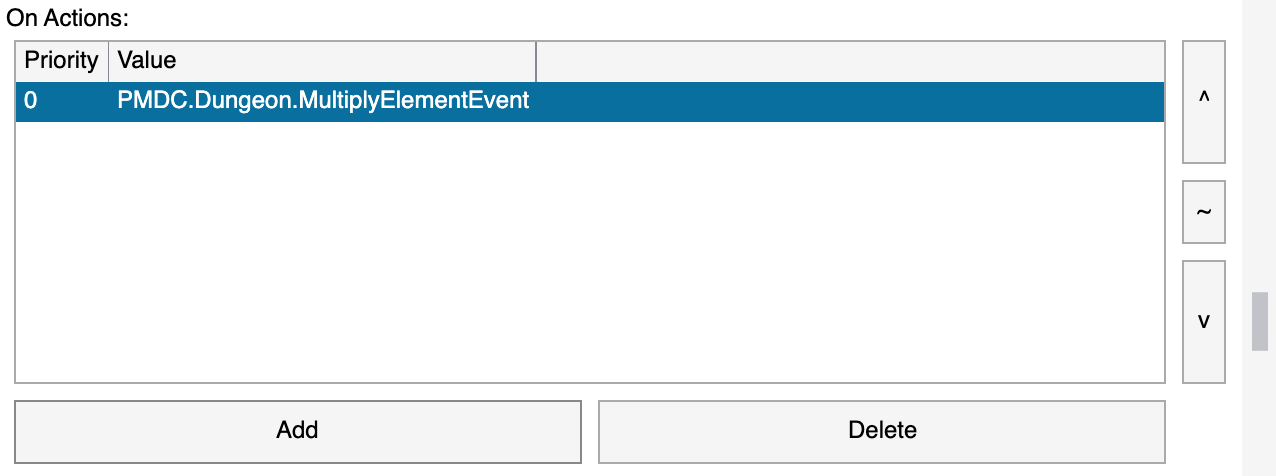
Scroll down to "On Action"
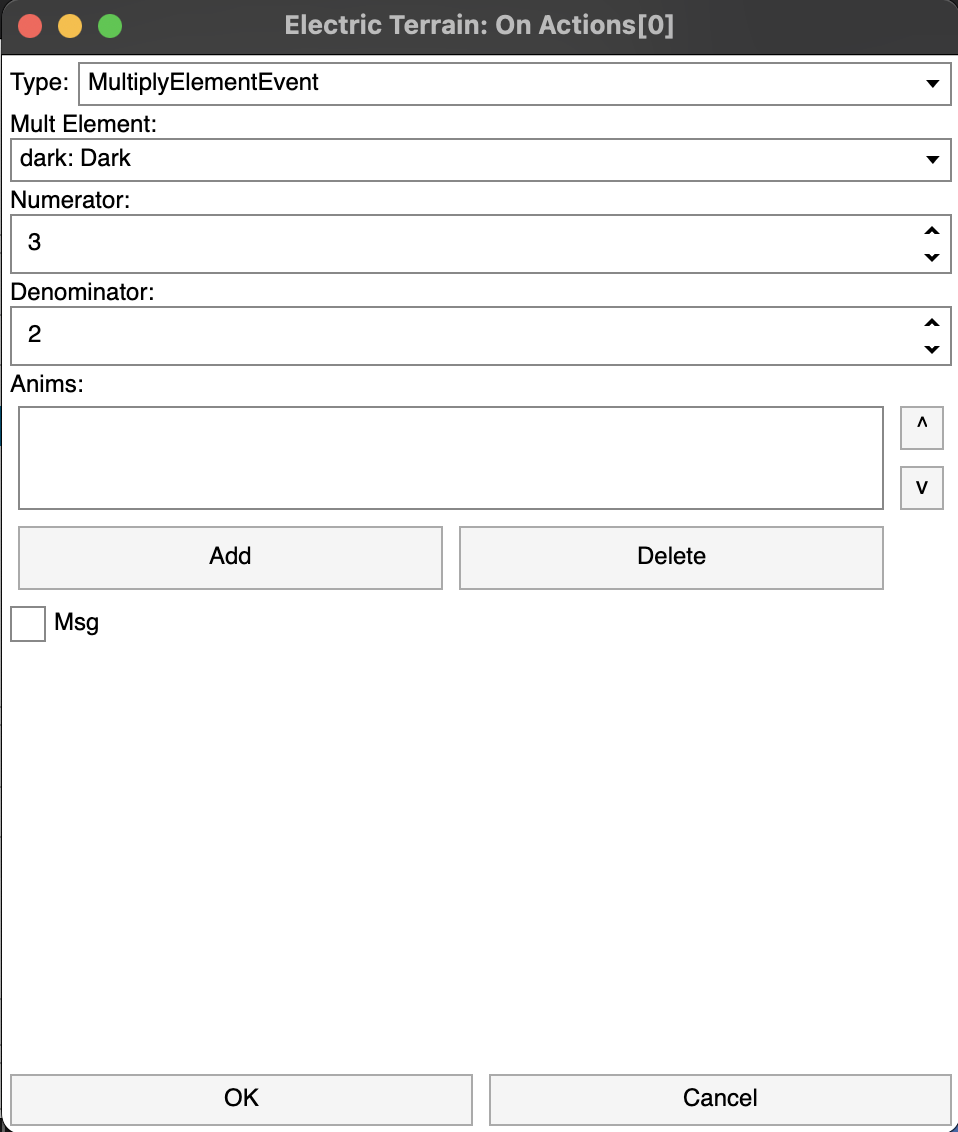
Double-click on PMDC.Dungeon.MultiplyElementEvent and change the Mult Element from Electric -> Dark, then click [OK].
We will add a new custom "On Action" event for our lower Attack Range effect.
Click on [Add]
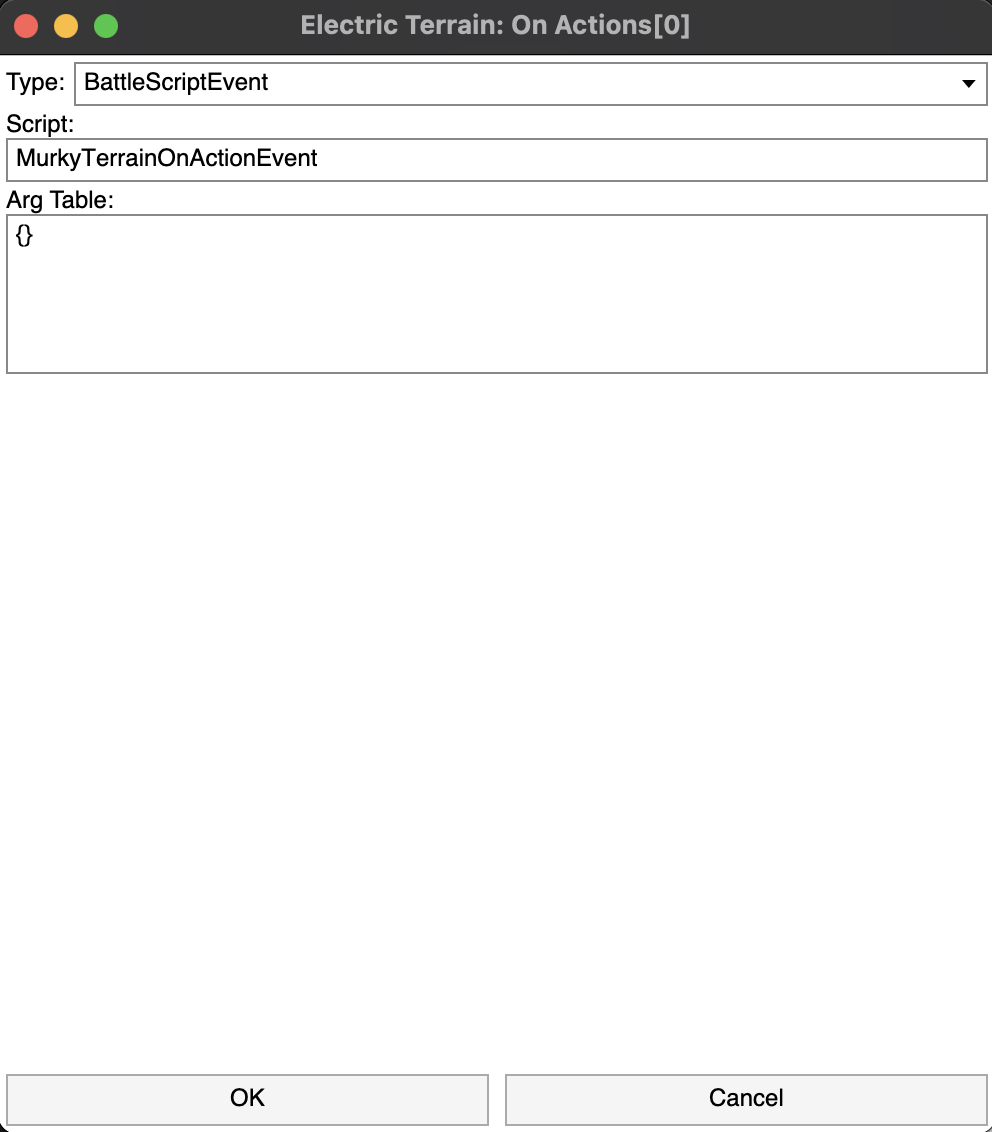
Do the following:
- Set the Type to be BattleScriptEvent
- Set the Script to be MurkyTerrainOnActionEvent
We'll later write our own BattleScriptEvent to lower the Attack Range of non-Dark and Ghost type Pokémon!
Click [OK] on all the sub-windows and save! We have just completed a majority of our new terrain! Let's create the strings and then code the logic for our new terrain.
Creating the Strings
We have two strings that we need to define:
- MSG_MURKY_TERRAIN_START
- MSG_MURKY_TERRAIN_END
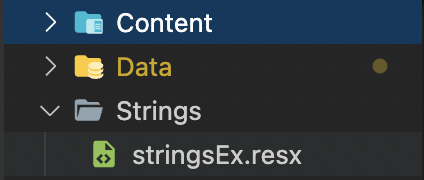
First create a new file called "stringsEx.resx" in "PMDO/MODS/{MOD_NAME}/Strings". The structure should look like so:
Copy the following lines below into the file.
<?xml version="1.0" encoding="utf-8"?>
<root>
  <xsd:schema id="root" xmlns="" xmlns:xsd="http://www.w3.org/2001/XMLSchema" xmlns:msdata="urn:schemas-microsoft-com:xml-msdata">
    <xsd:import namespace="http://www.w3.org/XML/1998/namespace" />
    <xsd:element name="root" msdata:IsDataSet="true">
      <xsd:complexType>
        <xsd:choice maxOccurs="unbounded">
          <xsd:element name="metadata">
            <xsd:complexType>
              <xsd:sequence>
                <xsd:element name="value" type="xsd:string" minOccurs="0" />
              </xsd:sequence>
              <xsd:attribute name="name" use="required" type="xsd:string" />
              <xsd:attribute name="type" type="xsd:string" />
              <xsd:attribute name="mimetype" type="xsd:string" />
              <xsd:attribute ref="xml:space" />
            </xsd:complexType>
          </xsd:element>
          <xsd:element name="assembly">
            <xsd:complexType>
              <xsd:attribute name="alias" type="xsd:string" />
              <xsd:attribute name="name" type="xsd:string" />
            </xsd:complexType>
          </xsd:element>
          <xsd:element name="data">
            <xsd:complexType>
              <xsd:sequence>
                <xsd:element name="value" type="xsd:string" minOccurs="0" msdata:Ordinal="1" />
                <xsd:element name="comment" type="xsd:string" minOccurs="0" msdata:Ordinal="2" />
              </xsd:sequence>
              <xsd:attribute name="name" type="xsd:string" use="required" msdata:Ordinal="1" />
              <xsd:attribute name="type" type="xsd:string" msdata:Ordinal="3" />
              <xsd:attribute name="mimetype" type="xsd:string" msdata:Ordinal="4" />
              <xsd:attribute ref="xml:space" />
            </xsd:complexType>
          </xsd:element>
          <xsd:element name="resheader">
            <xsd:complexType>
              <xsd:sequence>
                <xsd:element name="value" type="xsd:string" minOccurs="0" msdata:Ordinal="1" />
              </xsd:sequence>
              <xsd:attribute name="name" type="xsd:string" use="required" />
            </xsd:complexType>
          </xsd:element>
        </xsd:choice>
      </xsd:complexType>
    </xsd:element>
  </xsd:schema>
  <resheader name="resmimetype">
    <value>text/microsoft-resx</value>
  </resheader>
  <resheader name="version">
    <value>2.0</value>
  </resheader>
  <resheader name="reader">
    <value>System.Resources.ResXResourceReader, System.Windows.Forms, Version=4.0.0.0, Culture=neutral, PublicKeyToken=b77a5c561934e089</value>
  </resheader>
  <resheader name="writer">
    <value>System.Resources.ResXResourceWriter, System.Windows.Forms, Version=4.0.0.0, Culture=neutral, PublicKeyToken=b77a5c561934e089</value>
  </resheader>
  <data name="MSG_MURKY_TERRAIN_START" xml:space="preserve">
    <value>Darkness shrouded the battlefield!</value>
    <comment></comment>  </data>
  <data name="MSG_MURKY_TERRAIN_END" xml:space="preserve">
    <value>The darkness disappeared from the battlefield.</value>
    <comment></comment>  </data>
</root>
The lines of interests shown below, which define the name of the key and value messages our new terrain will use:
  <data name="MSG_MURKY_TERRAIN_START" xml:space="preserve">
    <value>Darkness shrouded the battlefield!</value>
    <comment></comment>  </data>
  <data name="MSG_MURKY_TERRAIN_END" xml:space="preserve">
    <value>The darkness disappeared from the battlefield.</value>
    <comment></comment>  </data>
We have just created our dungeon log messages for Murky Terrain!
Battle Script
We will now need to code the logic for MurkyTerrainOnActionEvent.
Create a file called "event_battle.lua" in "PMDO/MODS/{MOD_NAME}/SCRIPT". And copy the code below into the file.
BATTLE_SCRIPT = {}

function BATTLE_SCRIPT.MurkyTerrainOnActionEvent(owner, ownerChar, context, args)
  local type1 = context.User.Element1
  local type2 = context.User.Element2
  local apply_effect = not (type1 == "dark" or type2 == "dark" or type1 == "ghost" or type2 == "ghost")
  if apply_effect then
    local effect = PMDC.Dungeon.AddRangeEvent(-1)
    TASK:WaitTask(effect:Apply(owner, ownerChar, context))
  end
end
- To let the engine know we're creating a BattleEvent, we must initialize BATTLE_SCRIPT and then define our function MurkyTerrainOnActionEvent
- Our player information is found in the context.User variable. We check the user's first type and see if it's not Dark or Ghost and then the second type and see if it's not Dark or Ghost
- We then create an AddRangeEvent which is a BattleEvent defined here and apply the range modification with "TASK:WaitTask(effect:Apply(owner, ownerChar, context))"
- Note: the methods for context is defined here.
- Also note: the methods for User is defined here.
We have defined the logic of MurkyTerrainOnActionEvent! The last step is create our move to initiate Murky Terrain.
The last thing we have to do is create our move to use.
Creating the Move
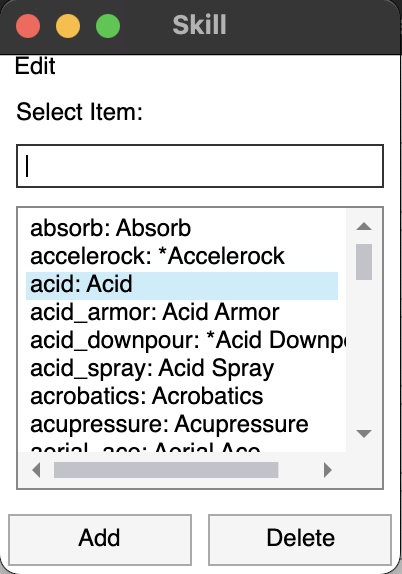
Begin by creating a new move in the Skills list.
Click on [Add]
Name the Move and click [OK].
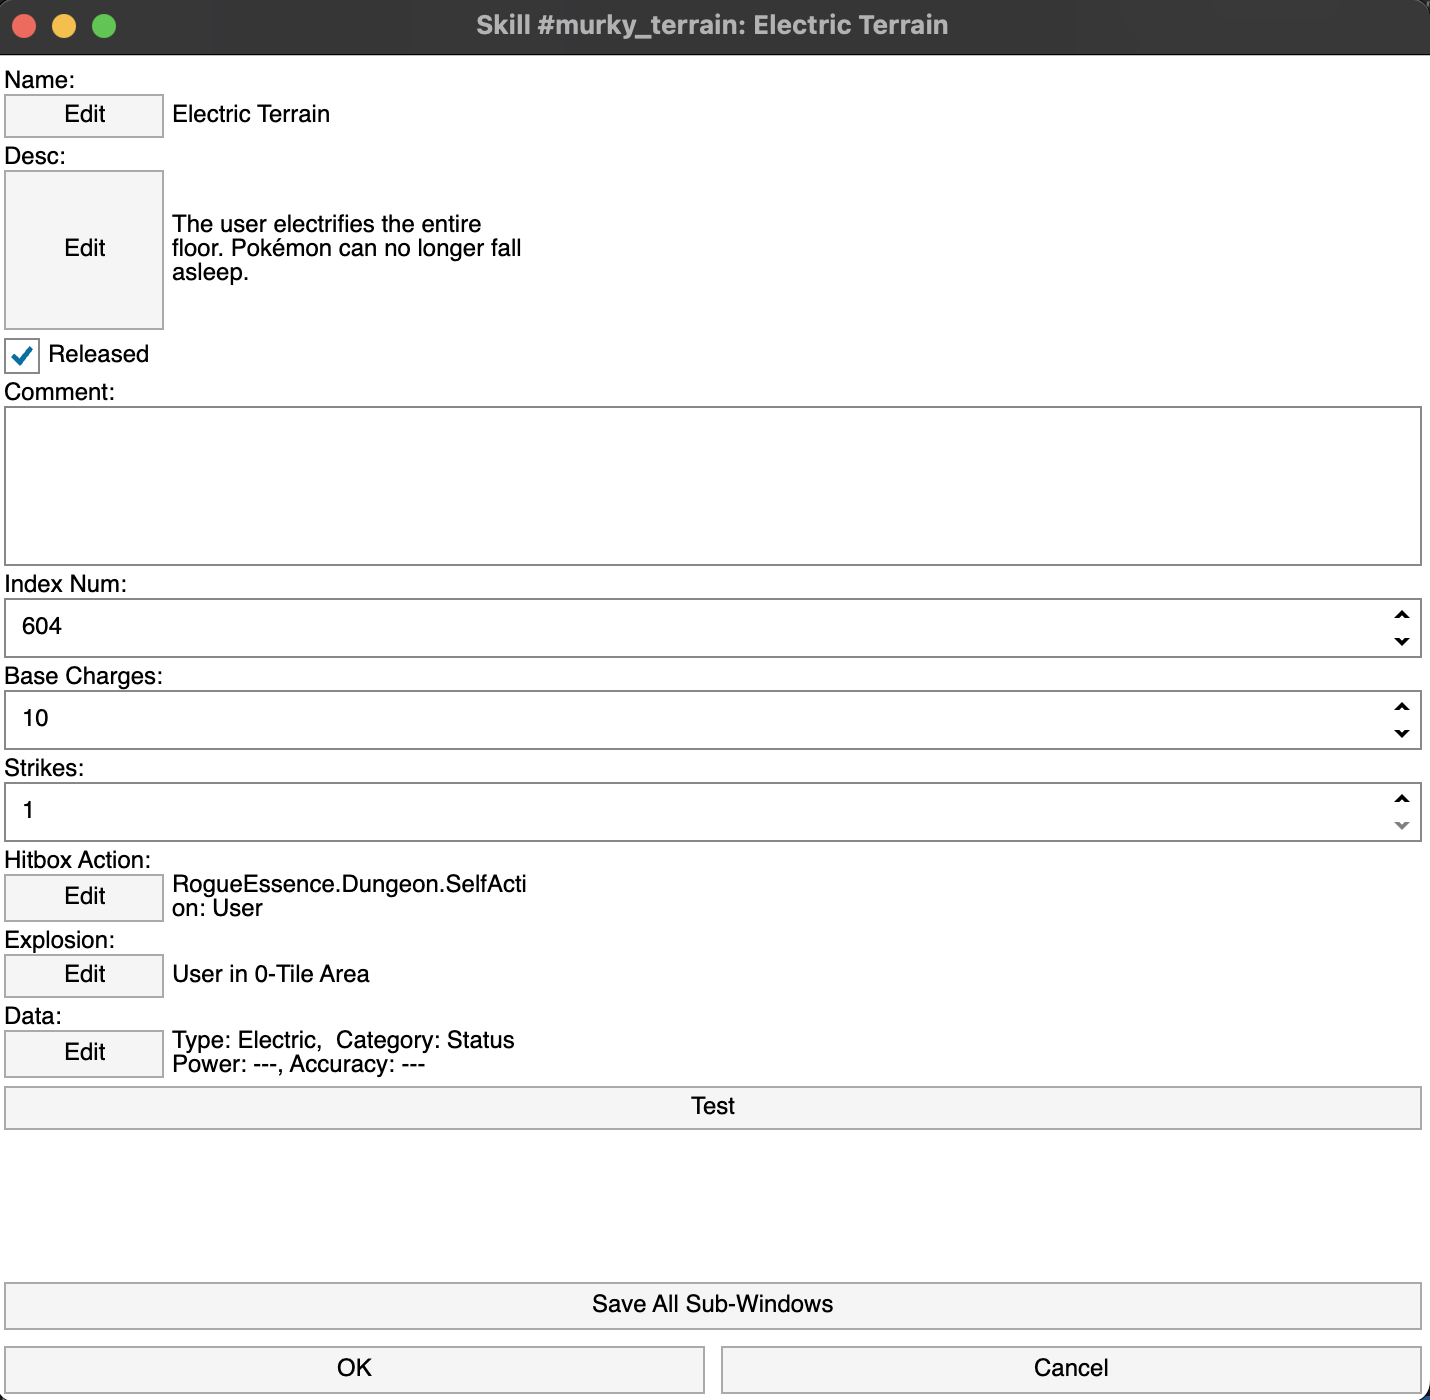
We'll do something similar before and use the Skill electric_terrain as the base. Find electric_terrain.json in PMDO/Data/Skills and open it with your text editor of choice and copy the contents over to murky_terrain.json in PMDO/MODS/{MOD_NAME}/Data/Skills
The move Murky Terrain should now look like the following:
Similar to previously, do the following:
- Set the Name to Murky Terrain (Remove all the Local Text)
- Set the Desc to be "The user shrouds the battlefield with darkness. All non-Dark and Ghost type Pokemon have their Attack Range lowered."
- Double-click on [Edit] under Data
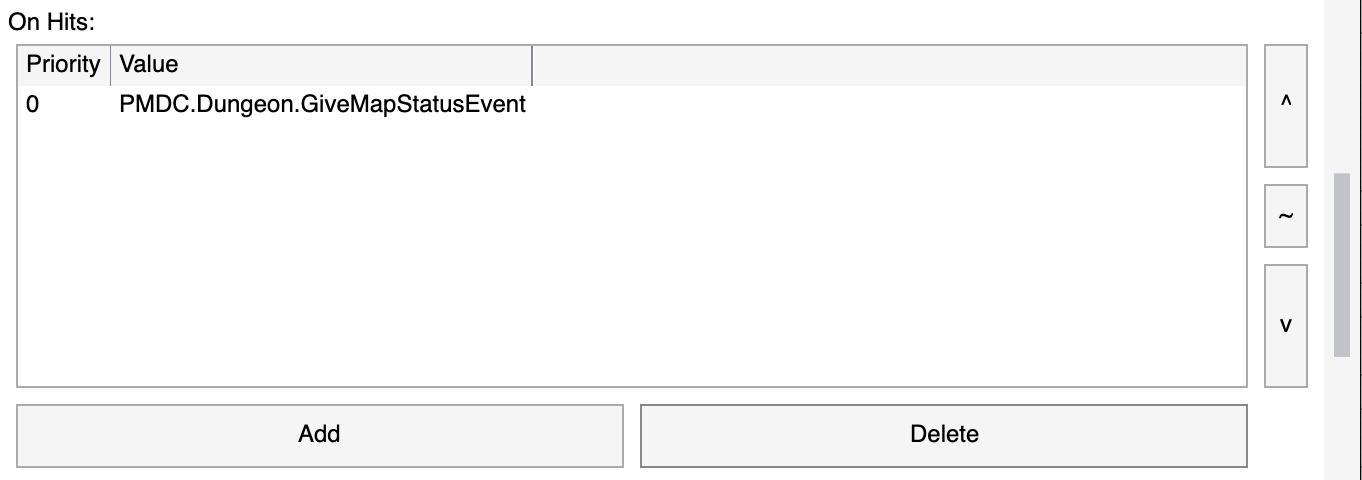
Set Element to be Dark. Then scroll down until you see "On Hits"
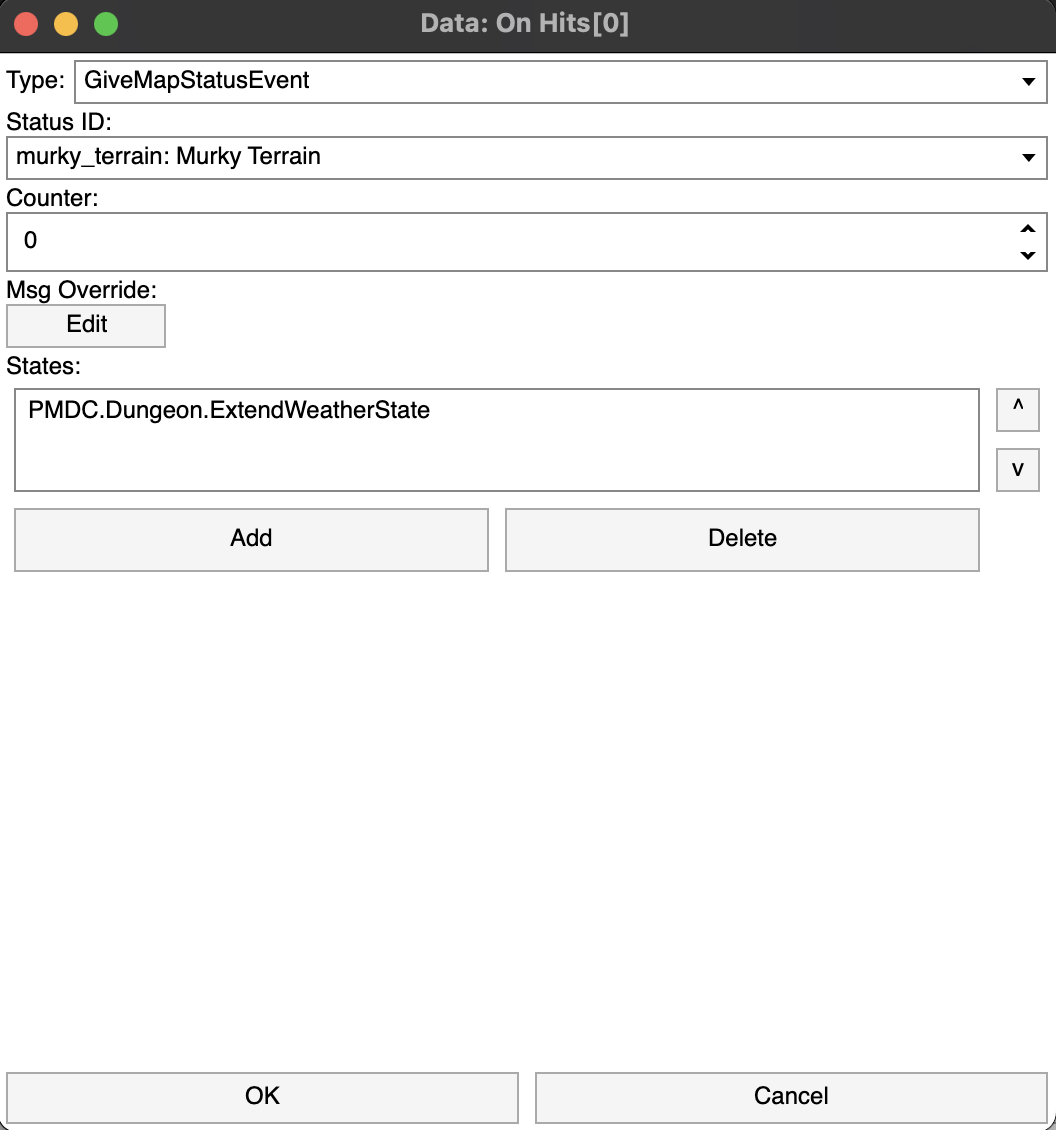
Double-click on PMDC.Dungeon.GiveMapStatusEvent
Change the Status ID to Murky Terrain. This is our map status that we just created!
Click [OK] and save close out all the windows and save!
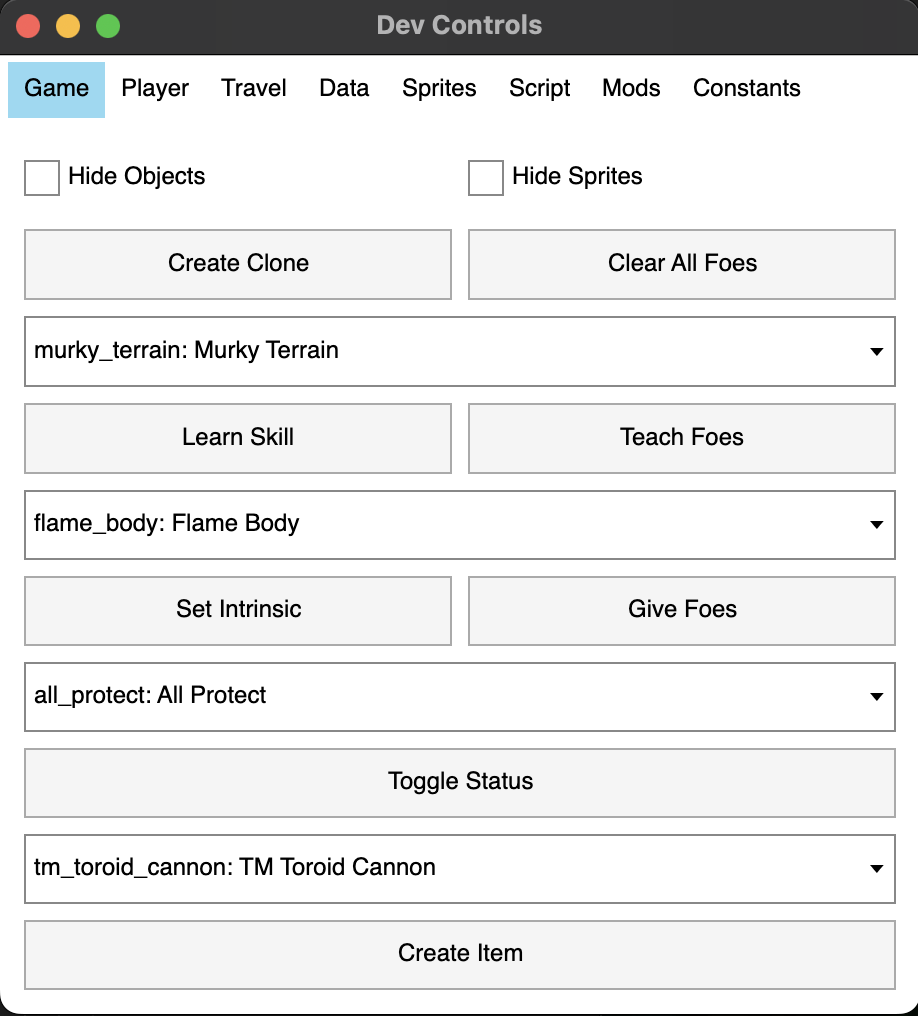
Enter a dungeon and teach someone Murky Terrain through the Dev Menu
If everything is working correctly, you should see the following result! You'll notice that ranged moves, such as Quick Attack reach 1-tile shorter.
This concludes adding your own map statuses! This tutorial was more involved and covered topics such as adding your own strings and custom Lua BattleEvents!


