Creating Moves
This tutorial covers how to create a new move.
Move Name/Desc
Open the moves list
Click [Add]
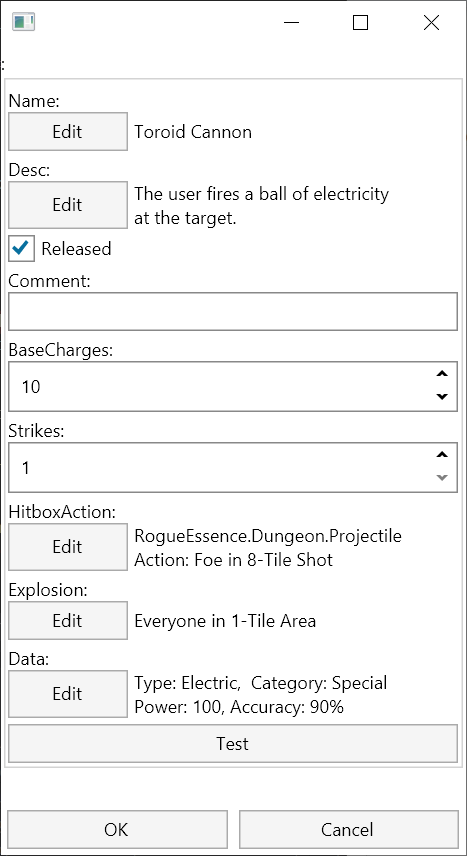
The window for a new move appears!
Click on [Edit] for Name
Give it a name.
Click [OK]
Do the same for the Description.
Basic Stats
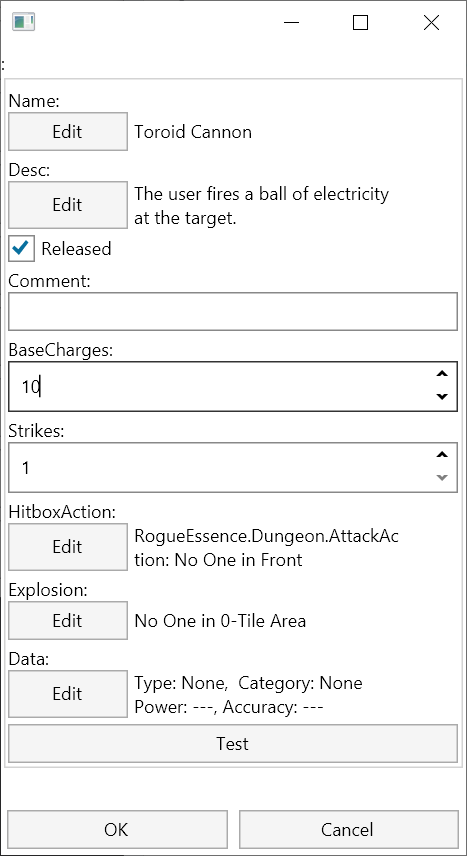
Make the edits shown above:
- Checkmark the “Released” checkbox. This allows the move to be learned.
- Then set the move’s BasePP. This is how much PP the move has.
Editing Hitbox
Click on [Edit] for HitboxAction The HitboxAction determines the type of range this move has. Does it hit the foe in front? Does it make the user dash forward? Does it fly in an arc like gravelerock? Etc.
Choose ProjectileAction as the type.
The Anim for the ProjectileAction is the sprite for the projectile that the player shoots at the opponent.
Click on [Edit] for Anim
Make the changes shown above:
- Set the AnimIndex to Shock_Wave. The AnimIndex determines the sprite.
- Set the FrameTime to 2. The FrameTime determines how long each frame of the animation should take. (Larger FrameTime, slower animation)
Click [OK]
Make the changes shown above:
- Input 10 for Speed. Speed is the speed of the projectile that the user will shoot. It is in tiles per second, with 0 being instantaneous.
- Set CharAnim to Shoot. CharAnim is the animation that the user will do when shooting the projectile
- Leave HitTiles alone. HitTiles determines if the projectile hits all tiles it travels through or not.
- Set Range to 8. Range is how far the projectile will travel in Tiles.
- Checkmark StopAtHit and StopAtWall. StopAtHit will make the projectile stop when it hits a target. If it’s off, the projectile will pierce through. StopAtWall will do the same, but for walls.
- Checkmark Foes. TargetAlignments determines if the projectile hits foes, allies, or self.
Scroll down to the bottom.
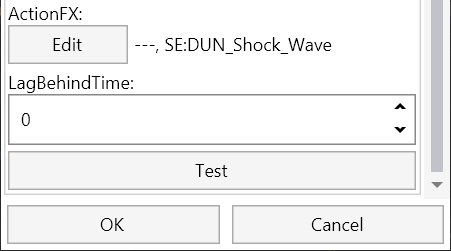
ActionFX is the VFX that triggers when the attack is fired. It also contains sounds and screen-shake.
Click [Edit] for ActionFX
Set the Sound to DUN_Shock_Wave. The Sound determines the sound made when the user fires the projectile.
Click [OK]
Click [Test]. The one at the very bottom!
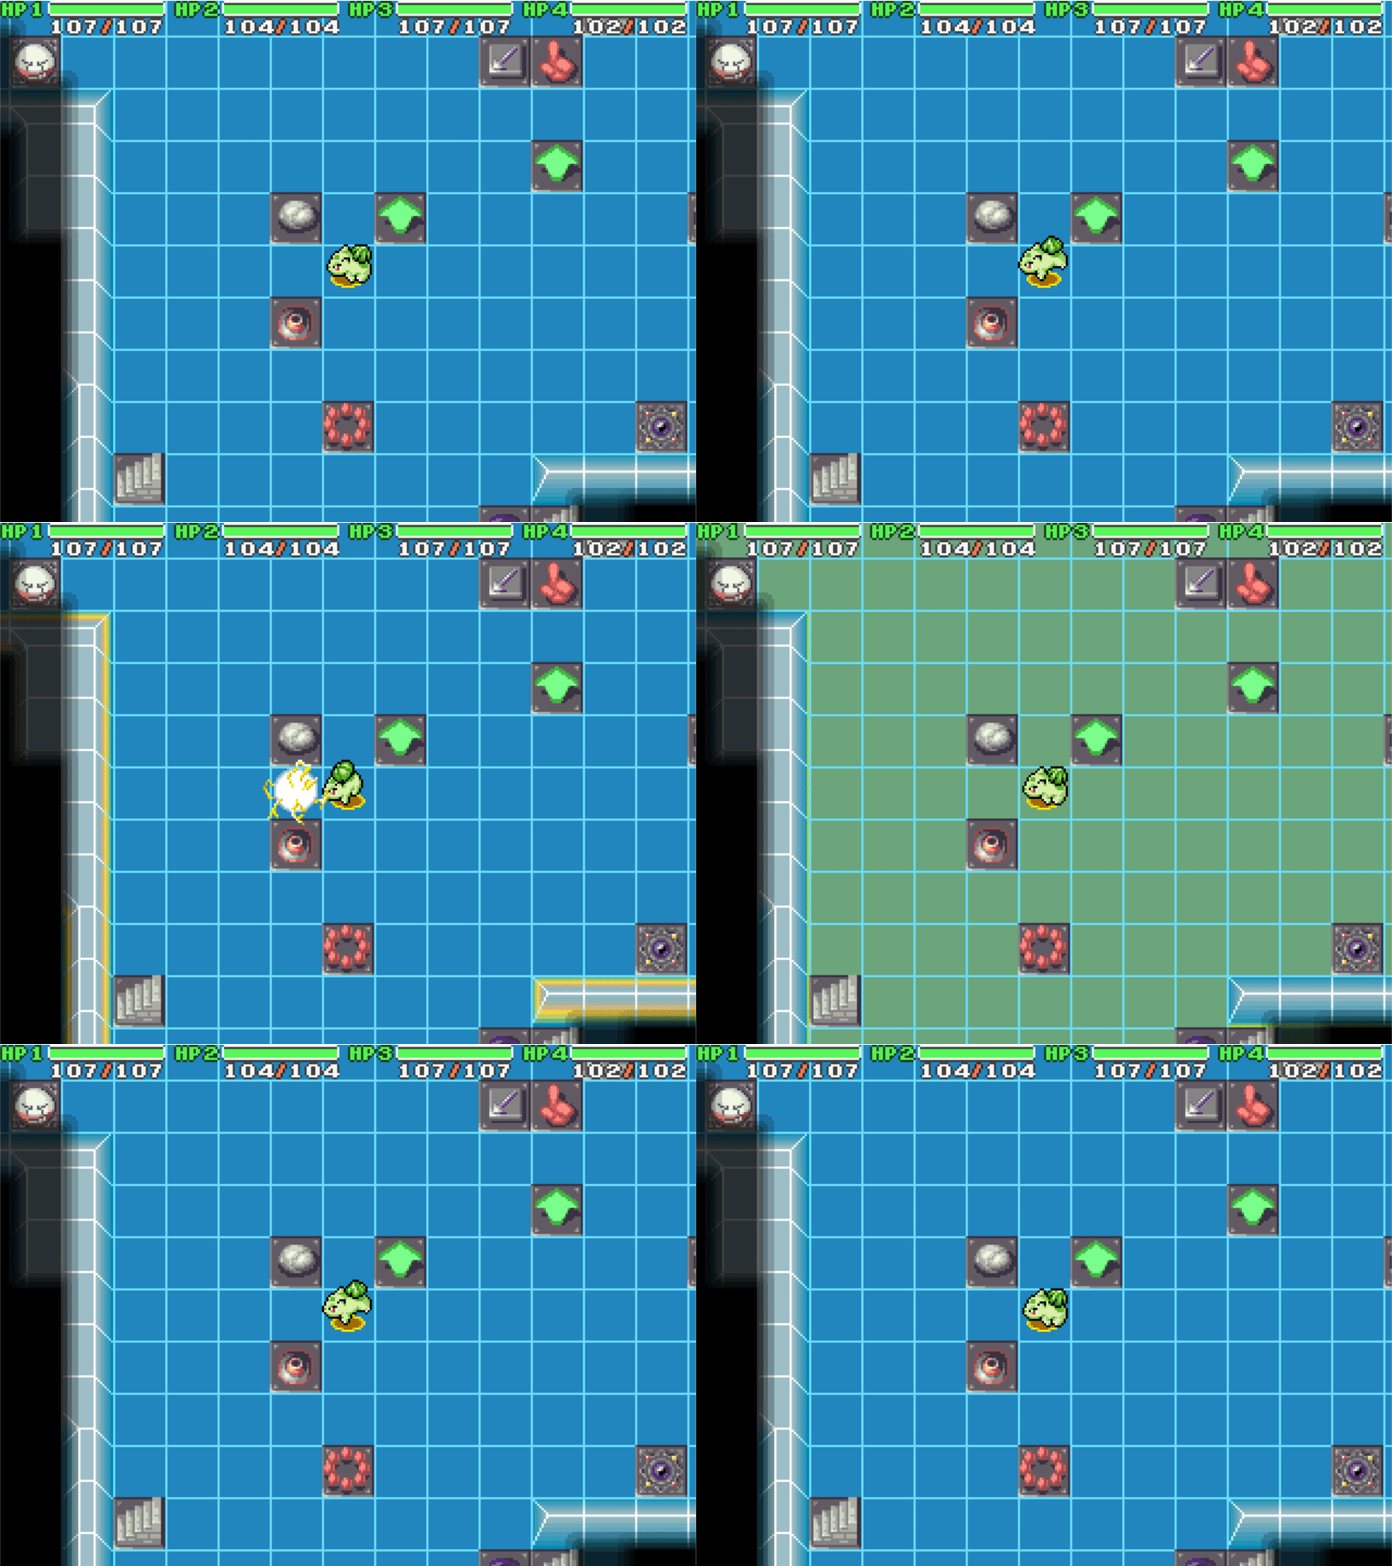
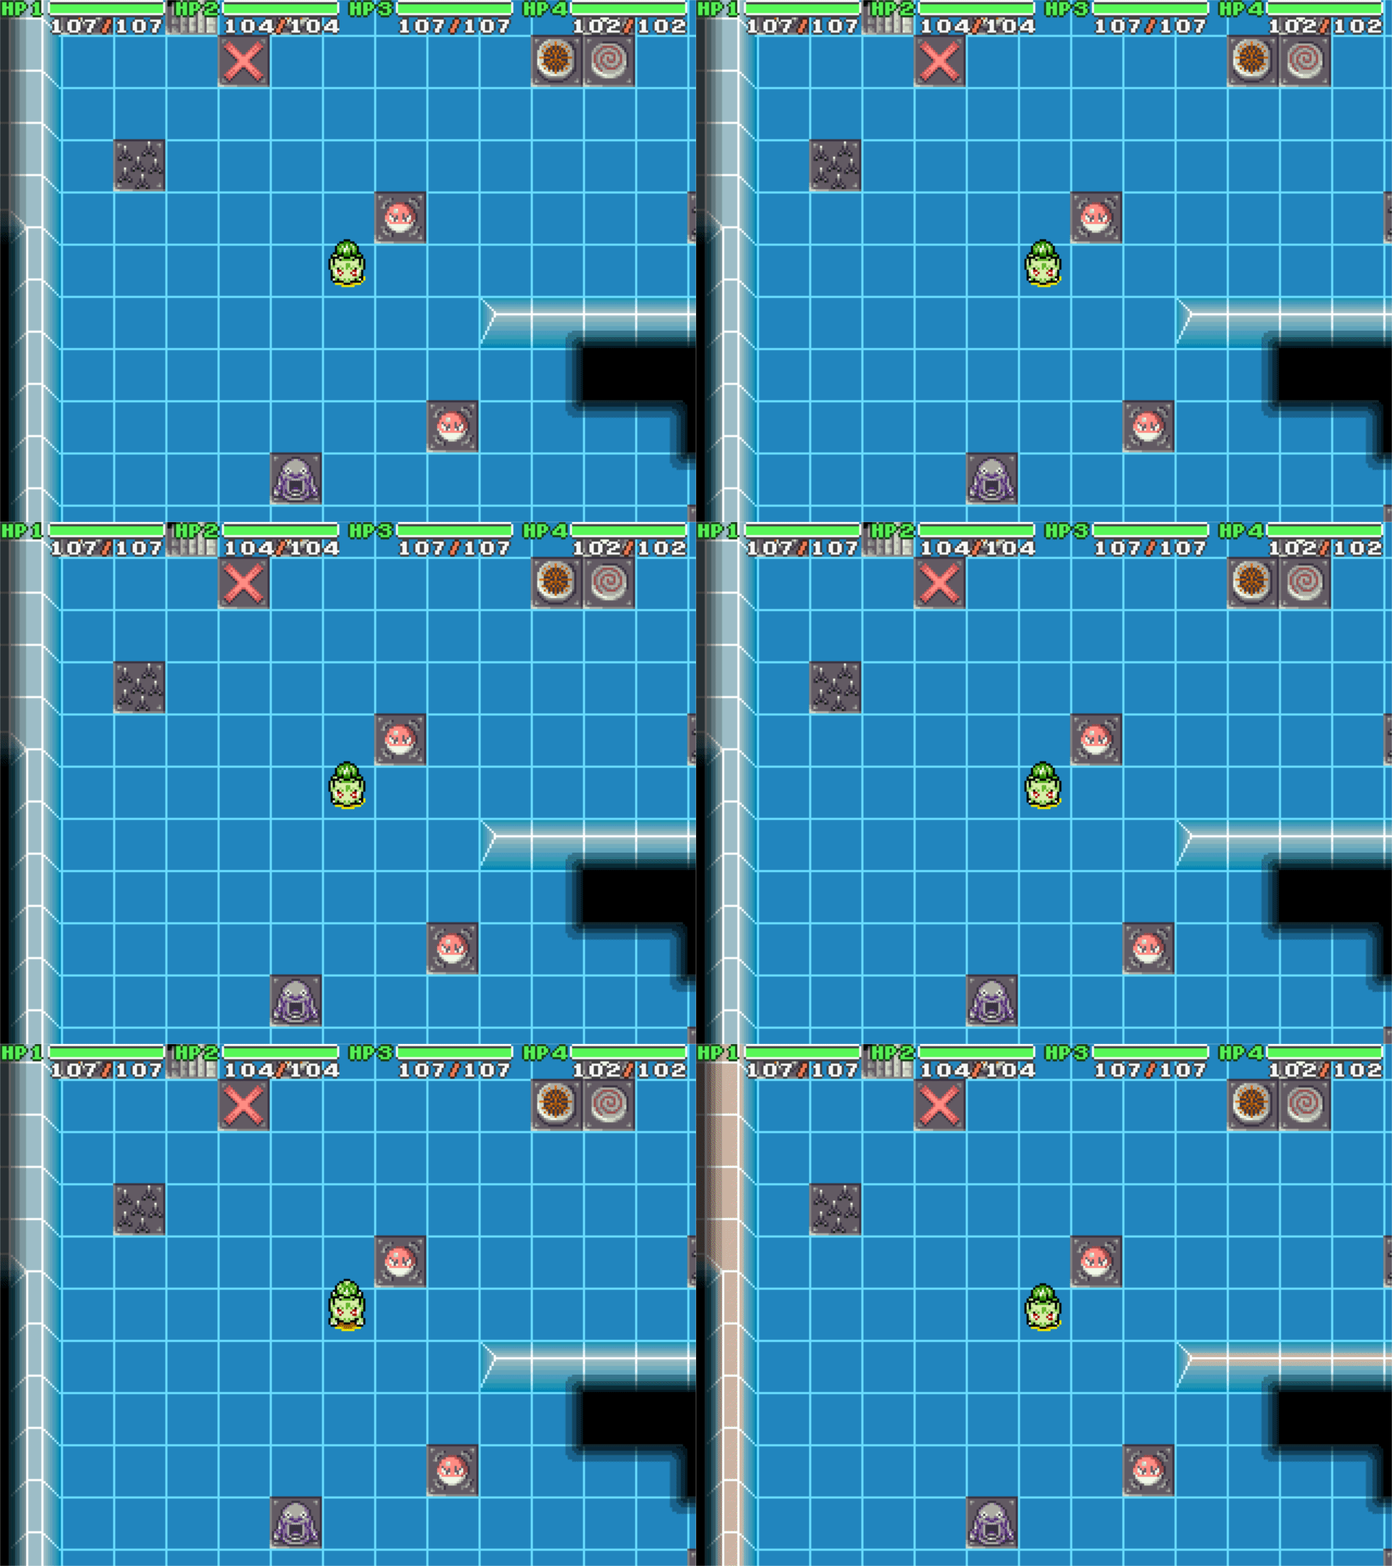
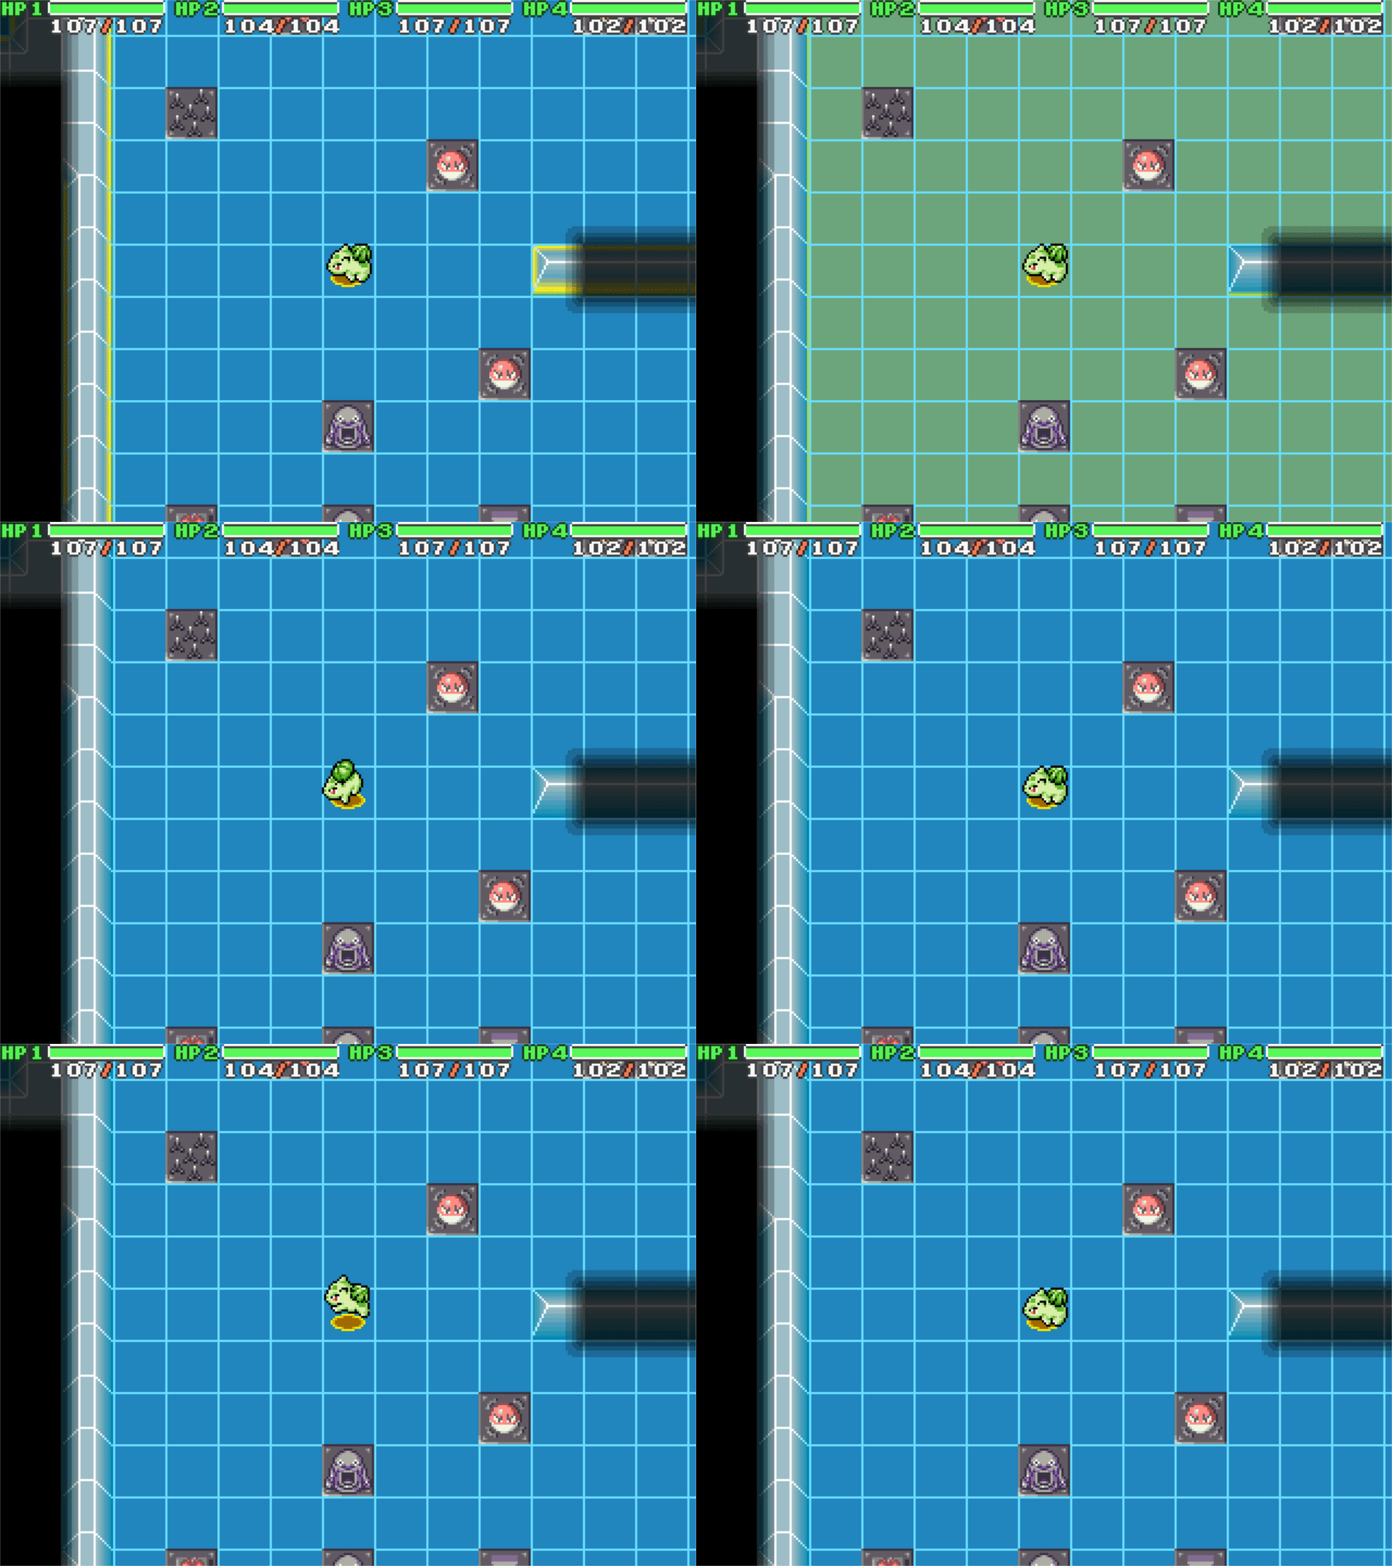
You should see this animation. It’s an electric ball that stops at walls.
Click [OK]
Editing Explosion
This is what the move looks like for now. If you click [Test] in this menu, you should see the same result as the earlier gif.
Click [Edit] for Explosion.
Some kinds of attacks will explode and cause splash damage when they hit the target. Examples include Flame Burst, Mud Bomb, and Draco Meteor. This is what ExplosionData is for. Most moves just leave this blank because they don’t explode, but we’ll use it this time.
Make the following changes:
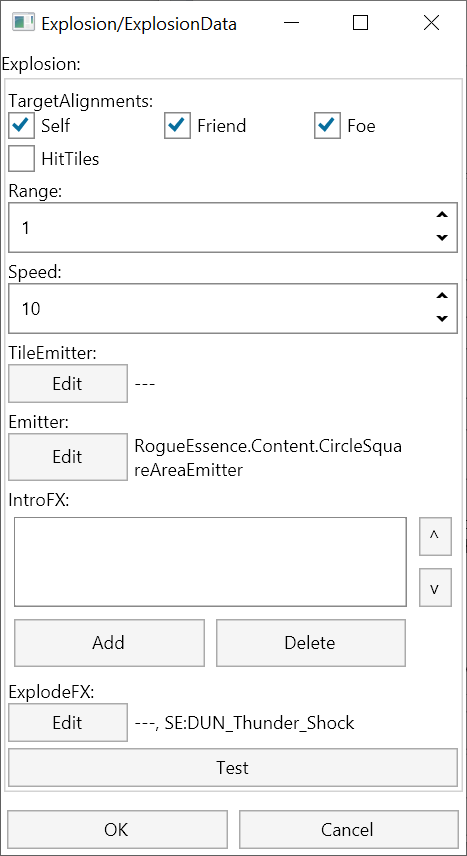
- Checkmark Self, Friend, and Foe in TargetAlignments. TargetAlignments determines if the explosion hits foes, allies, or self. Thus you can make an attack that only explodes on enemies, but the explosion can still hurt anyone, including you!
- Set the Range to 1. The Range is the range of the explosion.
- Set Speed to 10. Speed is the rate at which the explosion spreads out. In Tiles per Second.
Click [Edit] on the Emitter.
The Emitter for an ExplosionData is a particle emitter that uses the speed and range of the explosion itself.
Choose CircleSquareAreEmitter as the type.
A CircleSquareAreaEmitter will scatter particles around the area of the explosion, spreading out as the explosion spreads out. Moves that do this include Self-Destruct and Blast Burn. The particles being placed are chosen randomly from the Anims list.
Click [Add] for the Anims list.
Choose StaticAnim as the Type.
A StaticAnim is the simplest kind of particle VFX in the game. It just plays an animation.
The “Anim” box in this window is just like the AnimData shown earlier.
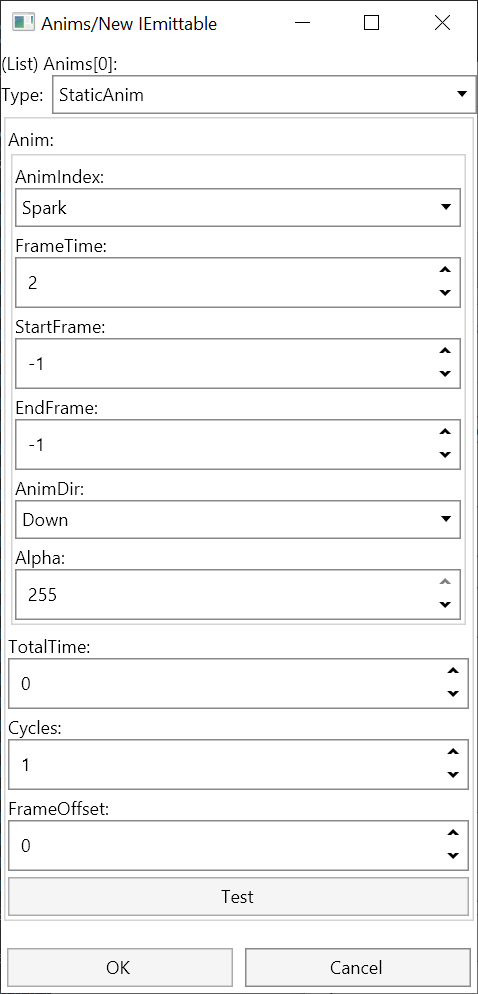
Make the changes shown in the above image:
- Set AnimIndex to Spark.
- Set FrameTime to 2.
- Set Cycles to 1. Cycles determines how many times the animation repeats.
Click [Test].
This is what you should see in the game window.
Click [OK]
Make the changes shown above:
- Set ParticlesPerTile to 1. ParticlesPerTile determines how many particles will be emitted.
- Set RangeDiff to -8. RangeDiff modifies the radius by which the particles appear. Negative means the particles will emit in a smaller radius than the actual hitbox radius. It is in Pixels.
Click [Test]
This is what you should see in the game window.
Note that when testing CircleSquareEmitters, they are automatically set to a range of 2 and a speed of 10. This is a sample of the emitter itself; it does not reflect the actual animation of the explosion.
Click [OK]
Explosions also have an ExplodeFX, which is VFX that appear at the center of the explosion. Unlike the Emitter, this does not use the explosion’s Range or Speed.
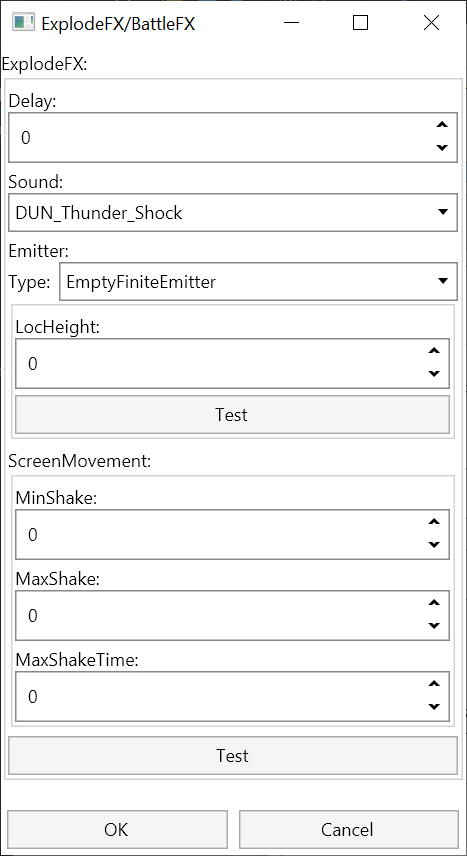
Click [Edit] for ExplodeFX.
BattleFX also have a Sound. This Sound will play when the explosion triggers.
Set the Sound to DUN_Thunder_Shock.
Click [OK]
This is how the ExplosionData should look now.
Click [Test]
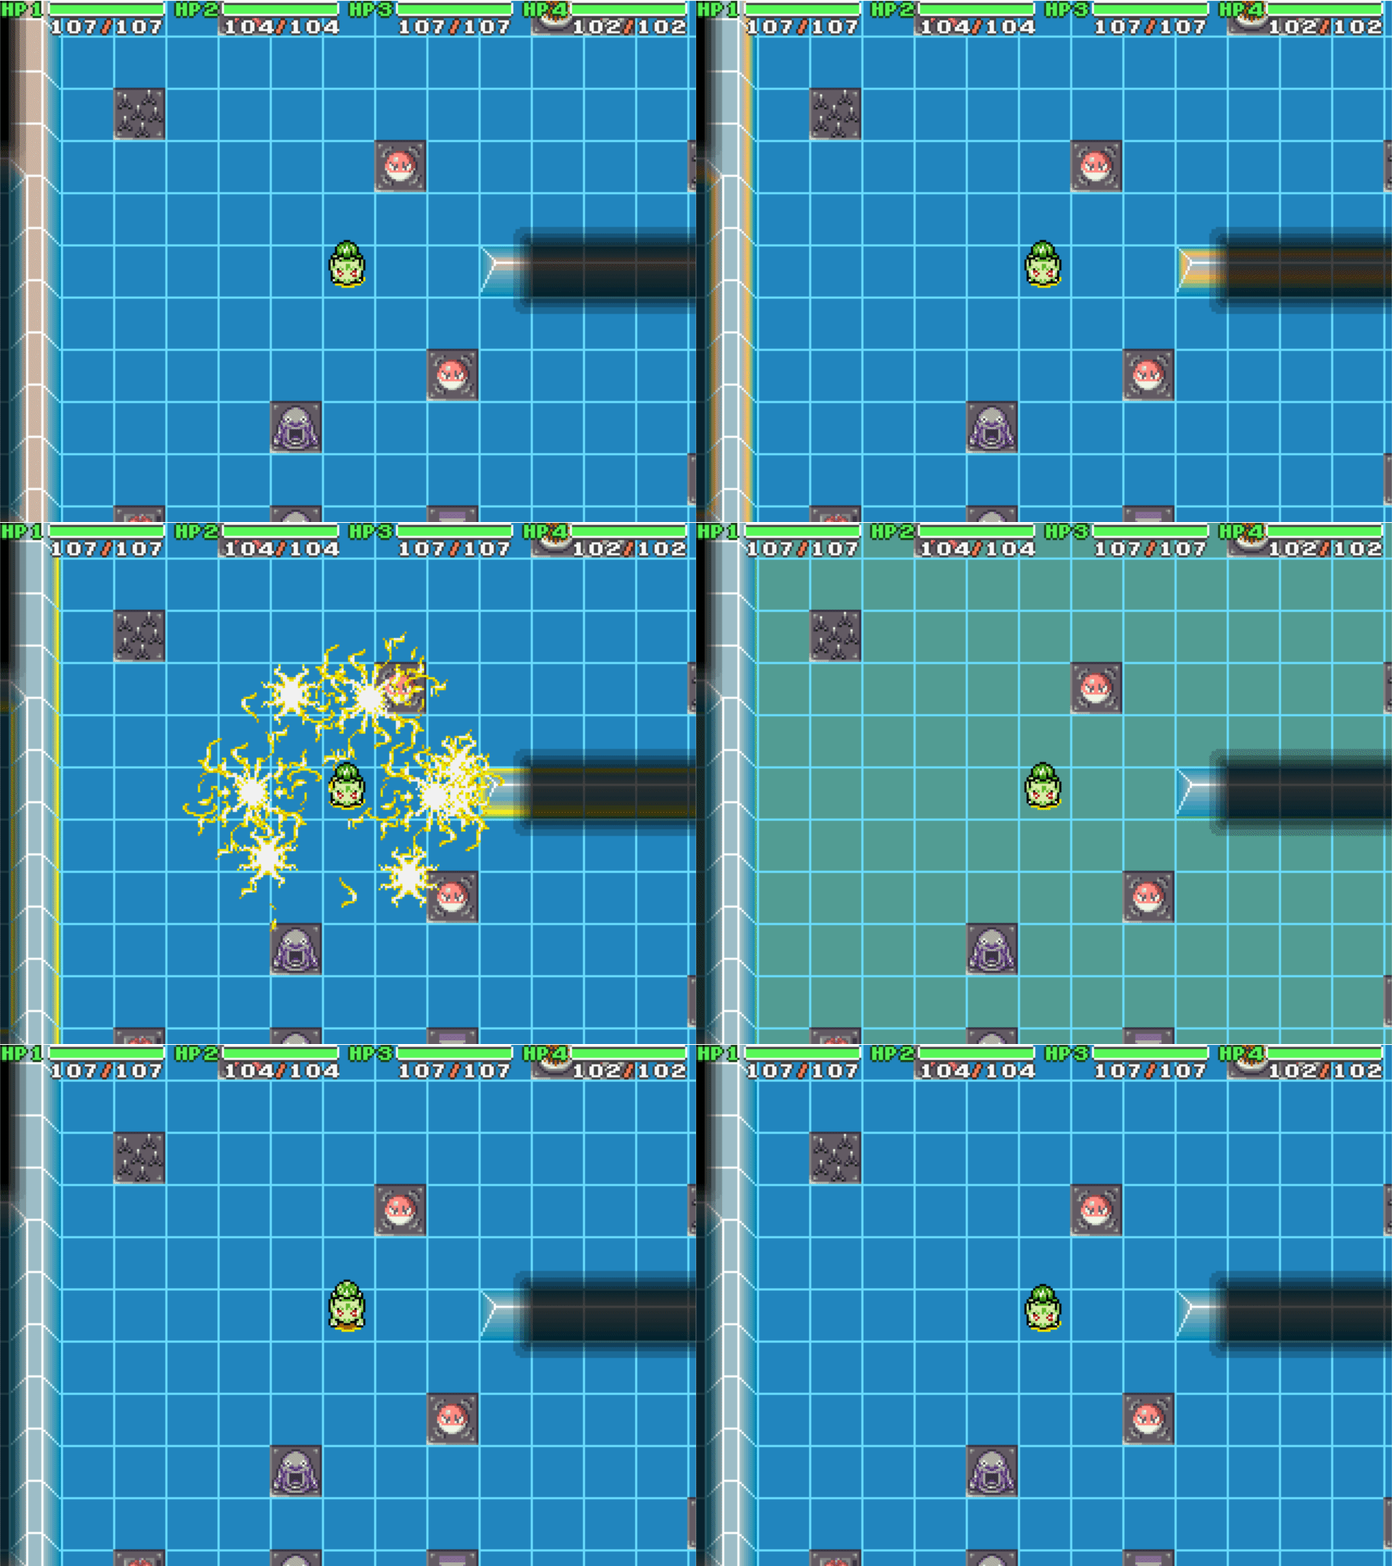
This is what you should see in the game window now. This reflects the actual explosion’s range of 1 tile.
Click [OK]
If you click [Test] now, you’ll find that the projectile will explode on contact.
You will see something like this.
Editing Data
Now, click on [Edit] for Data.
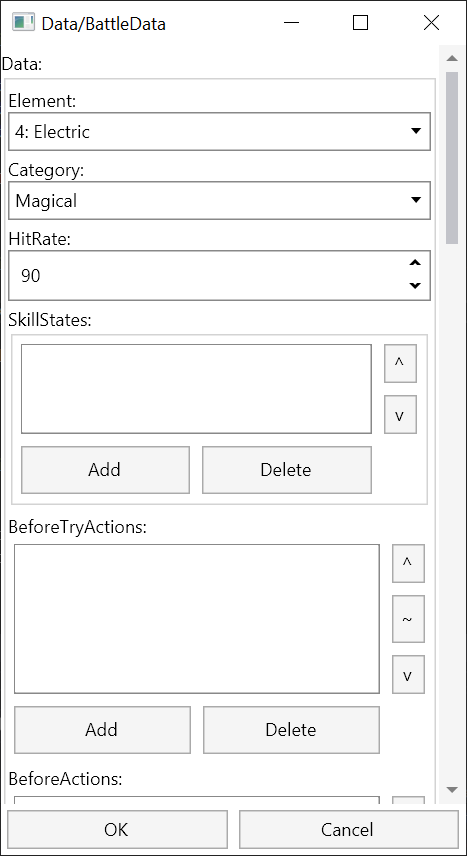
This is where you enter the stats of the attack to make it functional:
- Set MoveType to Electric.
- Set Category to Magical.
- Set Hit Rate to 90.
The main attributes of type, category, and accuracy are found in every move. However, some moves (such as status attack) don’t have a basepower. Basepower and other optional states are added via the SkillStates.
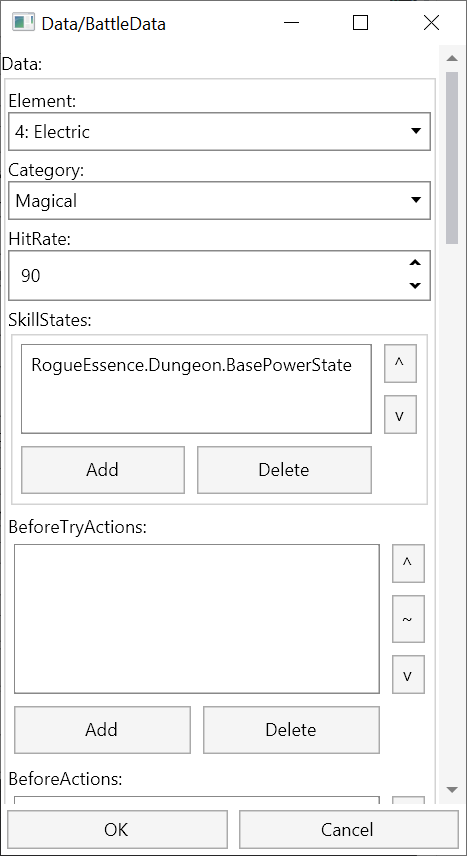
Click on [Add] for SkillStates.
Choose BasePowerState as the Type.
Set Power to 100.
Click [OK]
This is what the BattleData should look like now.
Scroll down to find the OnHits list.
The OnHits list is the list of game effects that would trigger the moment the move hits the target. This can include damage, status effects, etc.
Click [Add] for OnHits.
Choose DamageFormulaEvent as the Type.
The DamageFormulaEvent will take the BasePowerState we inputted before, and apply it to the damage formula of the game. It doesn’t need any additional inputs.
Click [OK] to add the BattleEvent.
All Battle Events have Priorities. This is to settle which effect happens first. An example of this is using Drain Punch on an enemy with Rough Skin. Which goes first? The healing or the damage? The lower the Priority number, the earlier it will kick in.
With DamageFormulaEvent selected, click on the Up arrow to move the newly created event to -1 Priority.
Dealing damage is always done on -1 Priority, so that additional effects will be allowed to happen on 0 Priority.
To learn visit Modding Move Effects
Editing Hit FX
Scroll all the way to the bottom to find the HitFX.
The HitFX is the VFX that will play when the explosion hits the target.
Click [Edit] for HitFX.
Make the changes shown above:
- Set the Sound to DUN_Shock_Wave_2.
- Set Emitter type to SingleEmitter. SingleEmitter is an emitter that releases just a single particle.
Click on [Edit] for the Anim.
Select ColumnAnim as the type.
ColumnAnims are just like StaticAnims, but for animations that are meant to extend to the top of the screen. Examples include columns of light from being revived, or lightning effects.
Make the changes shown above:
- Set AnimIndex to Lightning.
- Set FrameTime to 3.
- Set Cycles to 1.
Click [Test].
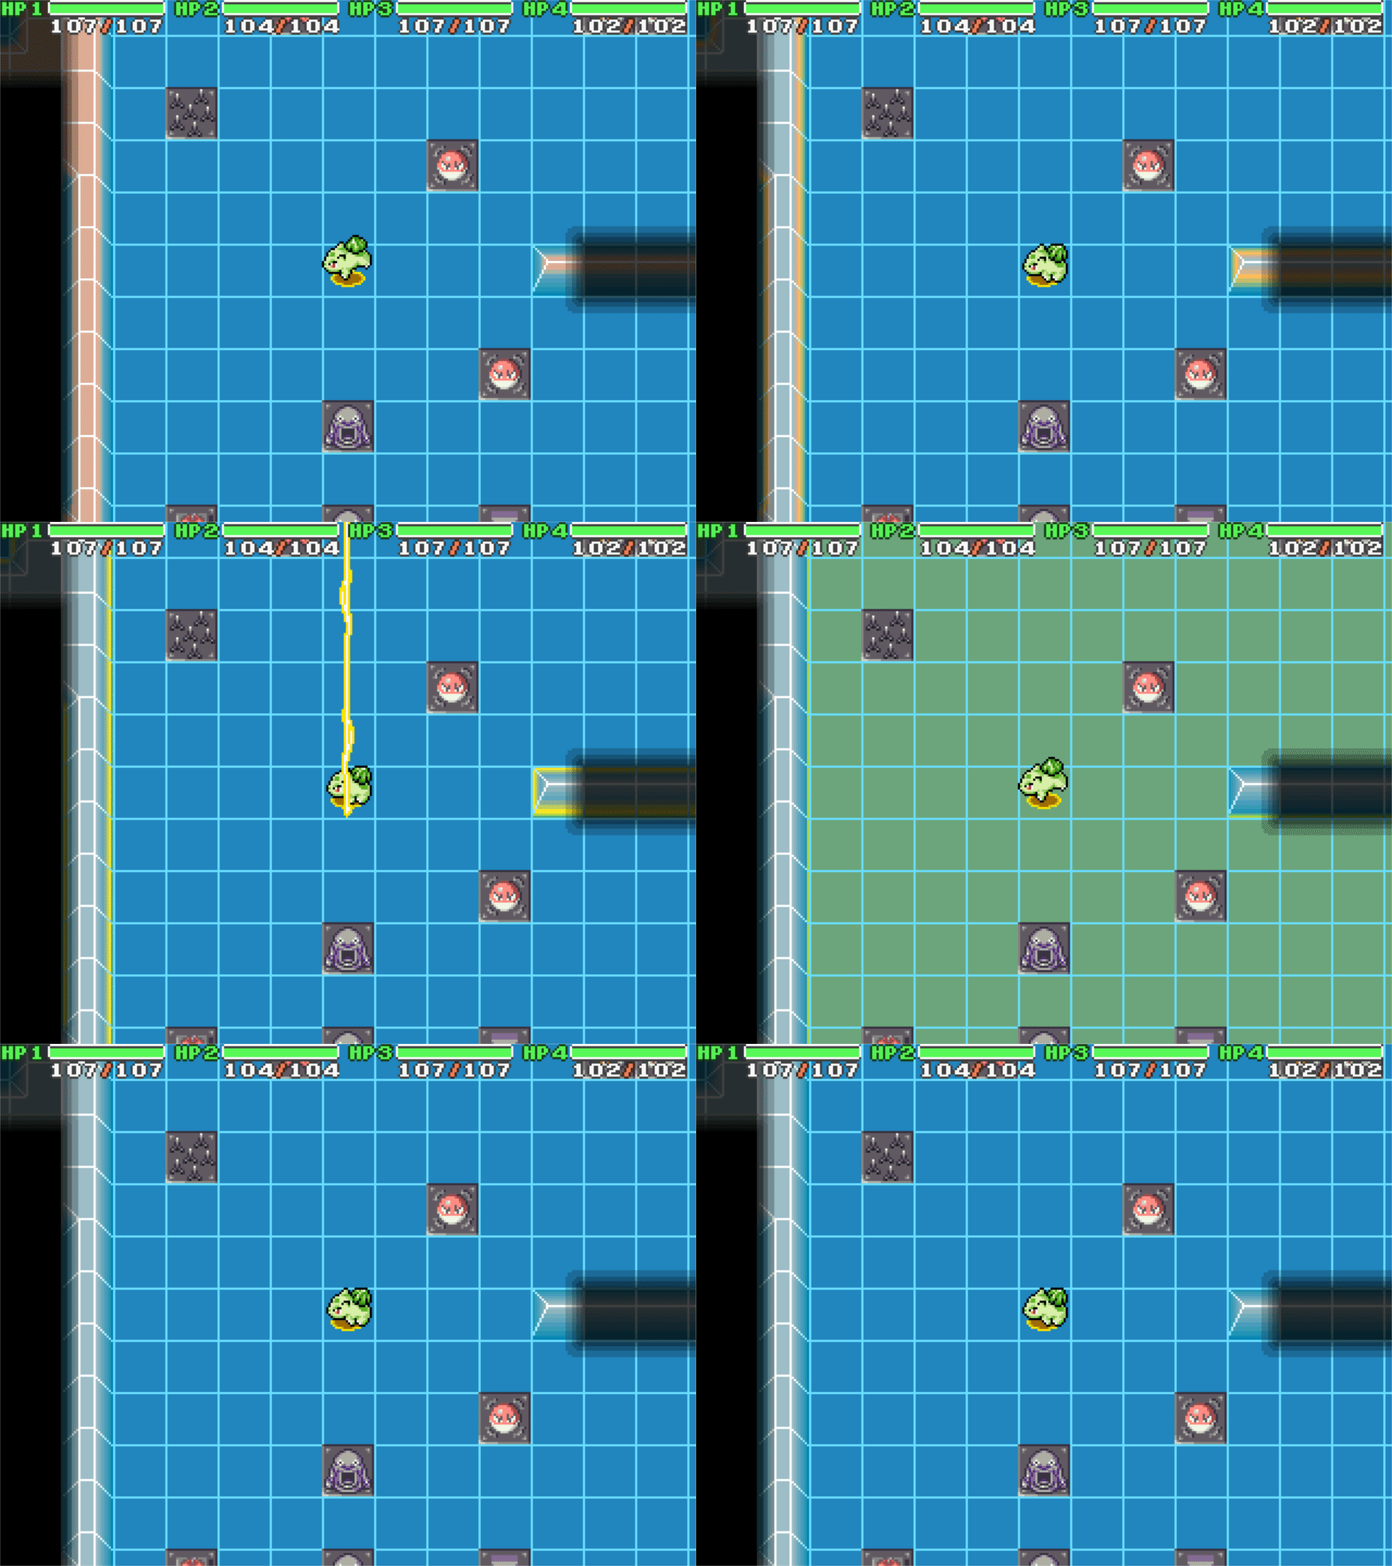
This is how the effect should look.
Click [OK]
Set LocHeight to 8. This is because the strike point of the lightning in the above gif seemed a little low, so we should raise it up a bit by increasing the LocHeight.
Click [Test] at the bottom to test the entire BattleFX.
The lightning strikes on the character now.
Click [OK] to finish the BattleFX.
Click [OK] to finish the BattleData.
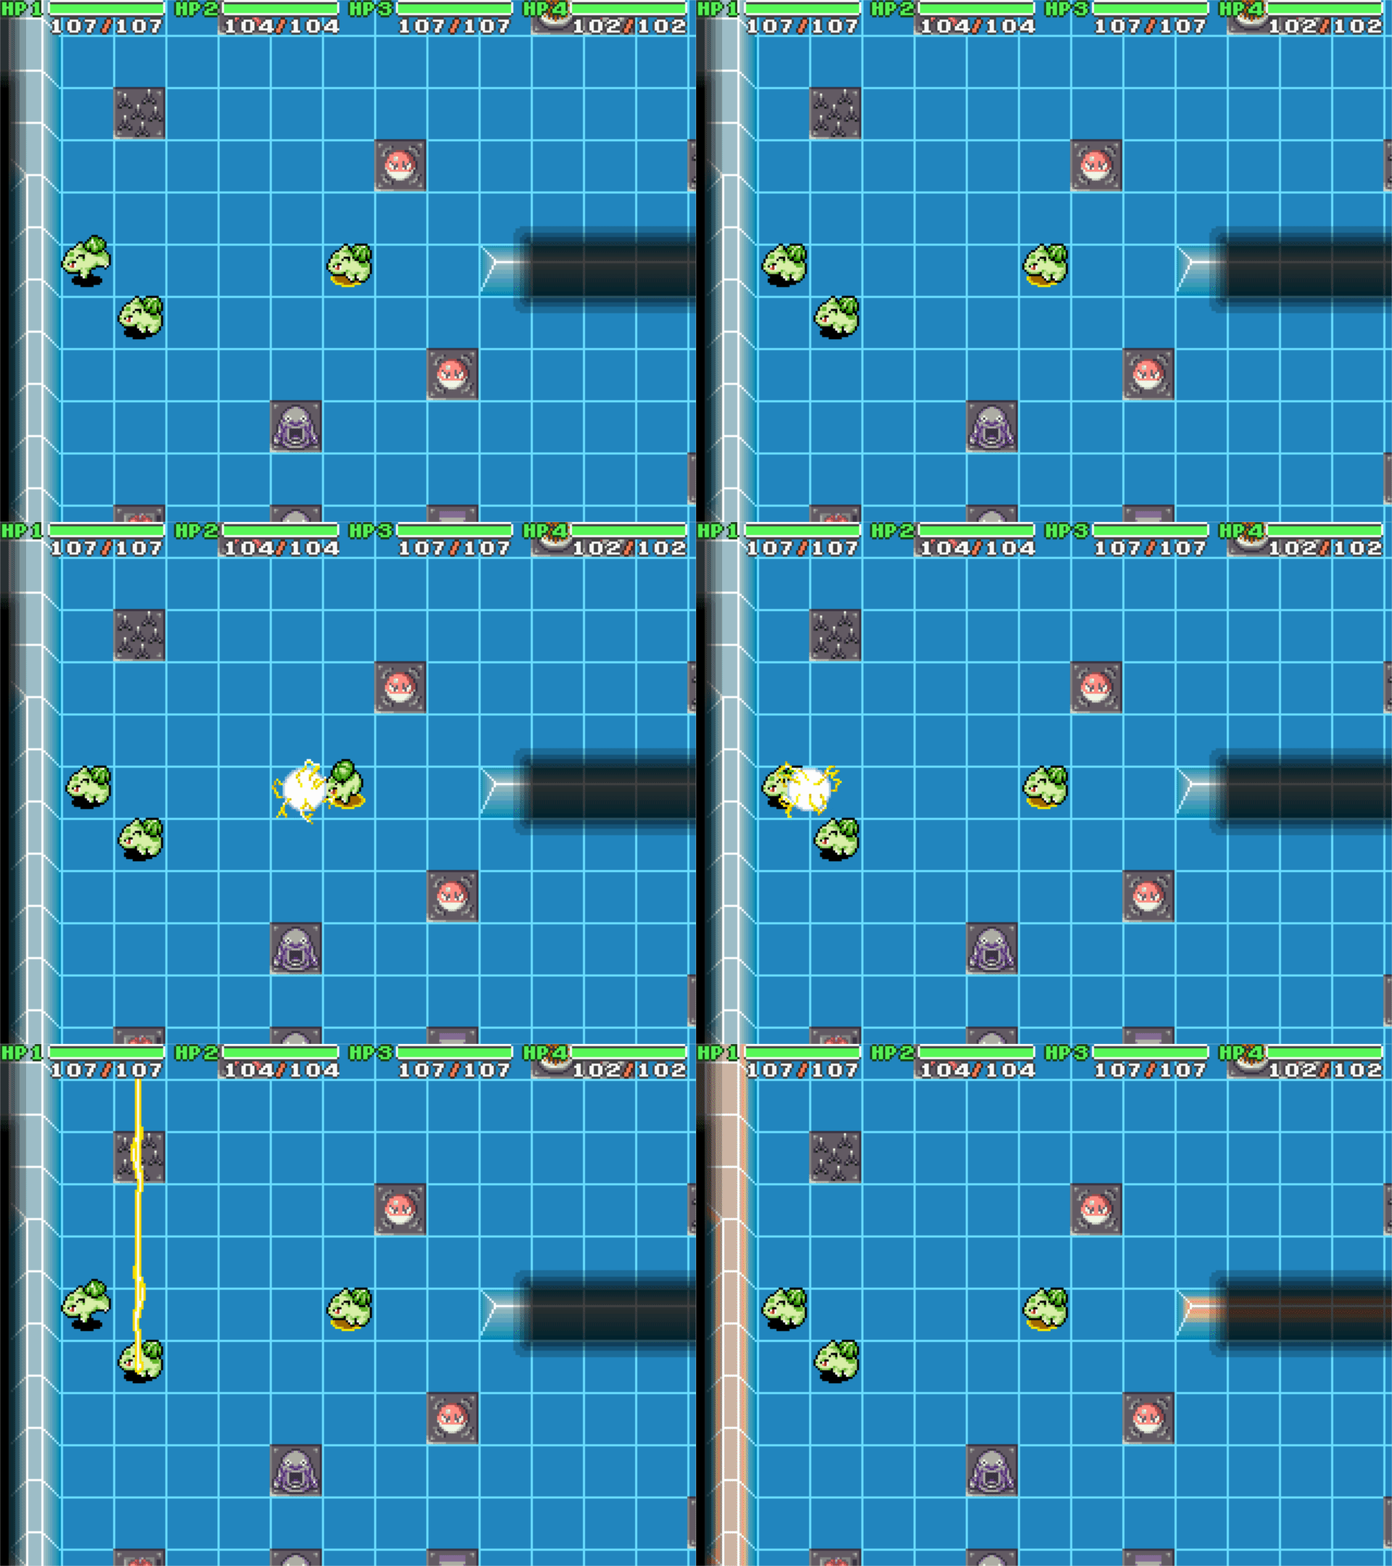
Click on [Test] once more to see the entire attack VFX.
Lightning will strike any targets caught in the explosion.
Click [OK] to finish the move. You can now learn it using the dev panel and try it out!


