Tutorial:Creating Dungeon Maps
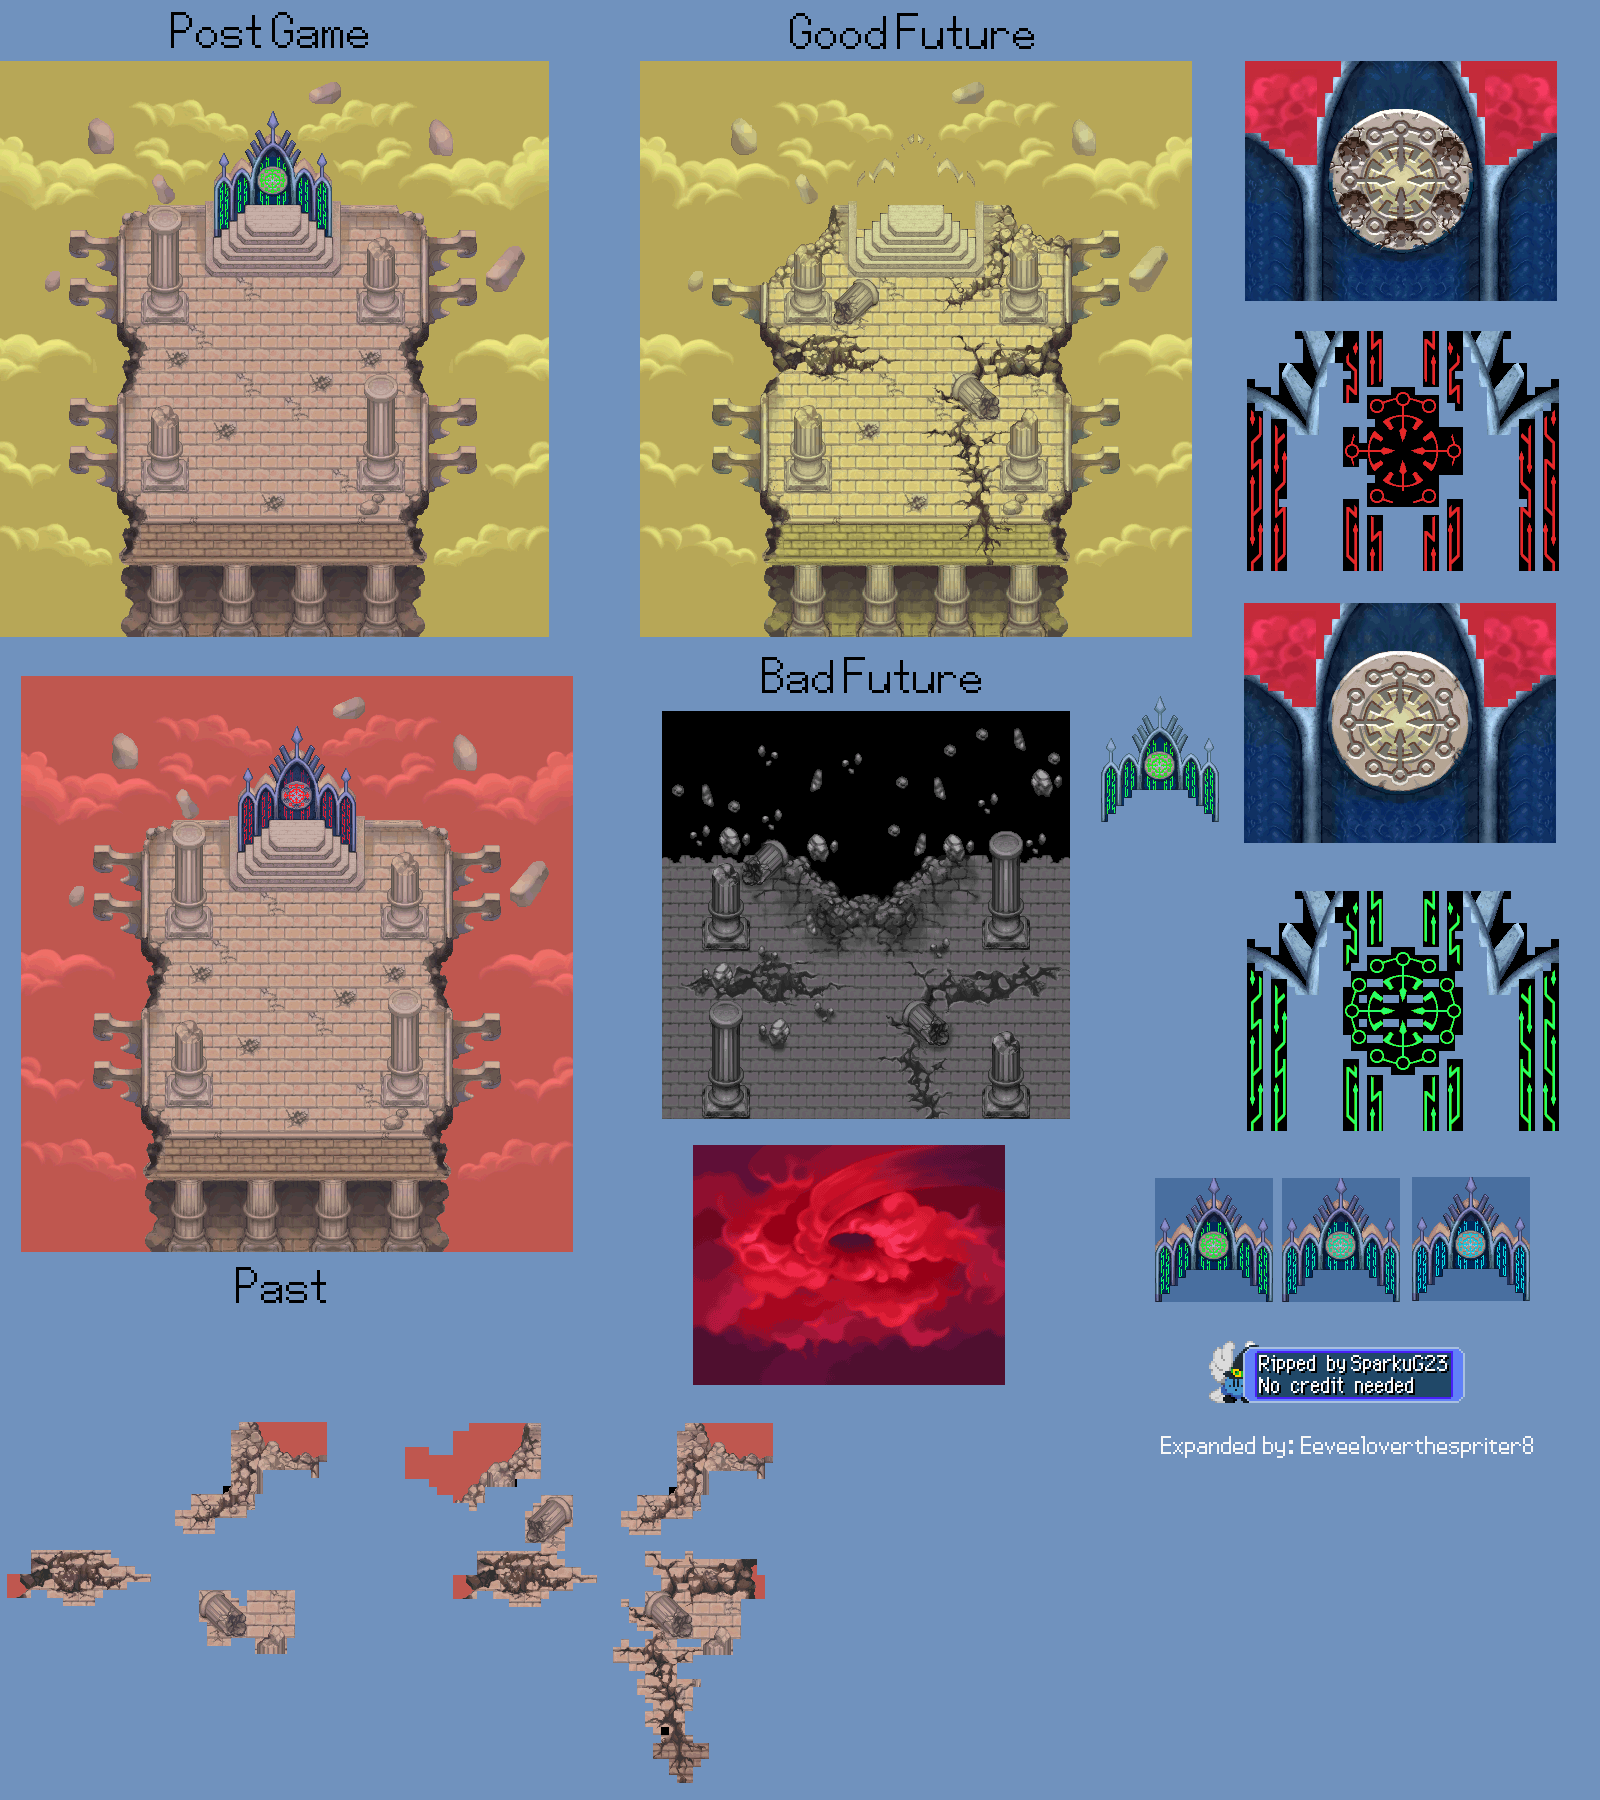
This tutorial will cover the steps needed to create a Dungeon Map out of existing PMD map sheets. A "Dungeon Map" is defined as a map by which movement is turn-based and tile-based. There exist random maps in the game, but for now we are focusing on creating a non-random map. It will be the boss battle version of Temporal Pinnacle from Explorers of Time/Darkness.
This tutorial is a follow-up to the tutorial, Creating Ground Maps, although it does not use the ground map created in it until the last section, “Accessing the Map”.
Before starting, it is highly recommended you begin with your game set to a mod as covered in the Modding Intro, so that you’re editing a mod instead of the base game. The tutorial will move forward with that assumption.
Tilesheet Import
To begin, we need the original spritesheet. You can find one from Spriter's Resource, Project Pokemon, etc.
https://www.spriters-resource.com/resources/sheets/111/114536.png?updated=1551214483
https://projectpokemon.org/home/gallery/image/77281-d30p42apng/
This map consists of two components: The main map and the animated pedestal. We will split them into separate sheets.
https://i.imgur.com/8vGCcWP.png
https://i.imgur.com/ntHuzya.png
The Map editor can be found in the Data tab when running the game in dev mode:

When you open this editor from the title screen, it will load a blank dungeon map.

Now, import both TemporalPinnacle and TemporalPinnacleAnim from png:

Both tilesets are now loaded:

Now, load TemporalPinnacle into the map:

This will load the entire tileset into the currently chosen layer:

Navigate to the pedestal with WASD, and press F1 to view the XY coordinates of the cursor.

Next, add a new layer to the map for the animations:

Double-click the layers to change their names:

Click on TemporalPinnacleAnim in the tileset list, and click on any position in the tileset to choose it:

Chosen tiles are shown with a red box. It is possible to multi-select by right-clicking on other tiles. Let's do this be first clicking on the top-left tile in the tileset (X0 Y0), and then right-clicking the end of the first animation frame (X4 Y4):

This gives us a 5x5 selection area. If we were to click on the map with these tiles selected, it would place all 5x5 tiles to the map. But we're not going to do that yet. Turn on animations by selecting the "Animated" checkmark, and set the frame length to 30:

When in Animated mode, choosing tiles from the tileset will change the CURRENT frame in the animation, with the option to add more. However, you can Shift+Click to automatically add new frames to the animation, and Shift+Right Click to do it while preserving the multiselect. Add a new frame with multi-select, by Shift+Right Clicking on the start tile of the second frame of animation (X0 Y5):

Do this for the third frame (X0 Y10), and then the second frame again to create a full animation cycle:

Click on the map to place your animation:

The pedestal should now animate.
Switch to the map properties and set the name and music:

If you want to add a custom music track just for this map, consult the music guide in Modding Music
Now save the map. You must save it in the Data/Map directory of your mod:


Once saved, you can test it walking around in it:

You will be able to walk around the map, fully turn-based.

There are several issues we need to fix:
- We are missing a spawn point, so the game spawns us at X0 Y0.
- There are no walls.
- Darkness shows at the end of the map.
Walls and Entities
Click on Edit Map in the Dev Controls to reopen the editor, and go to the Terrain tab:

Click “Show Terrain”, and switch terrain to Variable-Texture Impassable. This is the unbreakable wall terrain. We can assign a texture to this wall, but for this battle arena we want it to be invisible. Click and drag on the map to draw walls:

You can also use the Rectangle and Fill tool to assist in this. Next, switch to the Entrances tab:

Checkmark “Show Entrances”, and switch to “Add New” mode. Set the Direction to Up.
This will be the main spawn point for the map. Click on the map to place the entity, seen below:

Let’s also add Dialga to this map.
Switch to the Entities tab, to Add New mode. Fill out the entity information as below:

Set the Tactic to Boss. This gives it Boss AI.
Set the Species to be Dialga.
Set the Level to 50.
Set the Intrinsic (ability) to Pressure.
Give it the 4 moves shown above.
Checkmark the Unrecruitable box.
Place the entity at the location shown below:

You can zoom in using scroll wheel, and F1 can be used to tell positioning. Next, switch to the Properties tab:
Set the Scroll Edge to Clamp. This prevents the camera from looking beyond the map boundaries.

Save and Test.

You should now have a proper boss map with Dialga attacking you. If you faint, you will return to the editor. You can change your level in real time using the Player tab of the dev window.
Events
You may notice that your allies spawn in an arbitrary position close to yours. We want to place the allies in specific positions for this boss battle. We can achieve this using events. Switch to the Effects tab:

Click on the Edit button for Active Effect:
 ->
->

Add a new item to On Map Starts. Choose a BattlePositionEffect in the Type dropdown.
This event will occur when the map begins. BattlePositionEvent is an event that places the main team members at specific locations relative to the entrance.
Fill the list with the items below:

Click OK to add this event to the list.

We also want to set the priority of this event to -15. You can do this using the arrow buttons to the right of the list. The lower the priority, the earlier the event will occur. The fade-in for maps occurs at priority -10, so this event will occur before the map fades in.
Next, we want to add the win state. As you may notice, the team will get stuck on the map after defeating Dialga. This can be found in the BeginBattleEvent.
Add a BeginBattleEvent to the On Map Start event list:

BeginBattleEvent will add a map status to serve as the check to see if the boss battle is cleared, and complete the current dungeon segment if so. It needs to be set to the Map Clear Check status.

This effect also activates team mode as a convenience.
We put this at Priority -5 so that it activates after the fade-in is complete. Click OK to save the events. Then save and test the map.

The battle starts in specific formation, with team mode on. If you defeat Dialga, the test ends.
Accessing the Map
Your map currently exists as a file. However, it must also be made accessible. To do this, you must add it to an existing zone.

Go to the Data tab in the Dev Controls, and click on Zones. Double-click on Guildmaster Island. Scroll down to the Segments section.

Double-click on the Layered Segment to open it.

This segment contains a list of Floors that are all loaded from map files. Add a new floor of type LoadGen:

Add a new item to Gen Steps of type MappedRoomStep:

Choose temporal_pinnacle as the Map ID; it’s the name of the map you saved. Click OK to add it.

Make sure this Gen Step also has -1 Priority. To learn more about priorities, visit the dungeon creation tutorial: TBA
Click OK through all windows until you save the floor.

Make sure the map for temporal pinnacle is at floor 14F. Temporal Pinnacle as a dungeon map now exists as a part of the Guildmaster Island zone. Click OK through everything else to save the zone.
You can dev-travel to it by using the Travel Tab. It will be named LayeredSegment 14F:

You will note that while the map is 14F, it is internally labeled as floor #13. This will turn up later when we script a warp for it. With these settings, click Enter Map to travel to the dungeon map.

We still need to make the map accessible by normal play. It’s time to edit the script.
Recall in the Ground Map tutorial that the Ground Map version of Temporal Pinnacle ran a cutscene to preface a battle. It was in Data/Script/Ground/temporal_pinnacle/init.lua of your mod folder. The end of the script was like this:
  -- go back to base camp
  GAME:EnterGroundMap("base_camp", "entrance_north")
However, this script only sent the player back to the base camp since there was no boss battle map. Now that there is one, it’s time to hook it up. Replace the last EnterGroundMap statement with a call to EnterZone:
  -- enter zone 1, segment 0, map 13, entrance 0
  GAME:EnterZone("guildmaster_island", 0, 13, 0)
This will warp the player to the boss map, and the map itself will handle the rest.
Save the file, and reload scripts. Re-enter Temporal Pinnacle (the ground map) using the base camp entrance. The cutscene should transition into battle now.

Clear this battle, and you will be sent back to the base camp. If you want to learn how to make a dungeon lead up to this cutscene, take a look at the dungeon modding tutorial: Creating Dungeons

