Creating Items
How to create a new item.
Open the items list. Choose a blank slot in the existing list and double-click. Or create a new one with [Add]
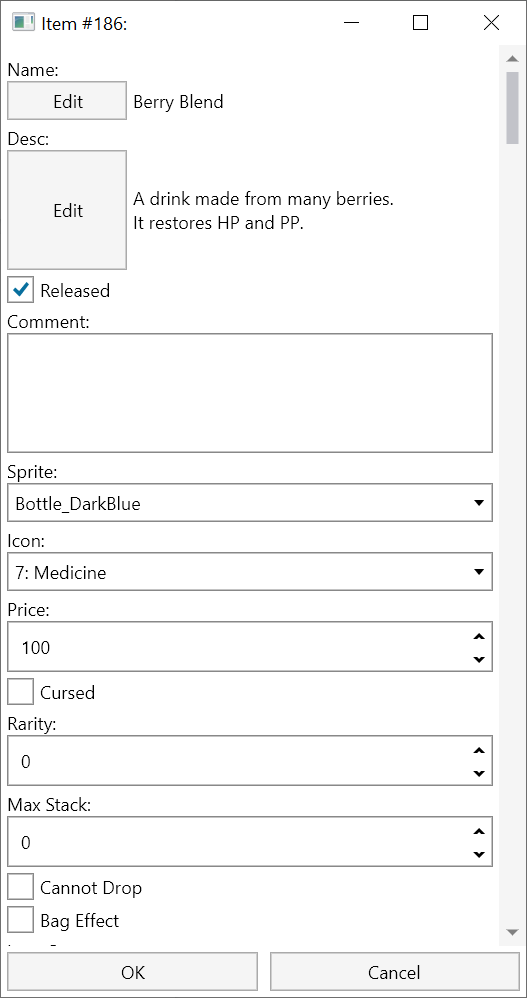
The window for a new item appears!
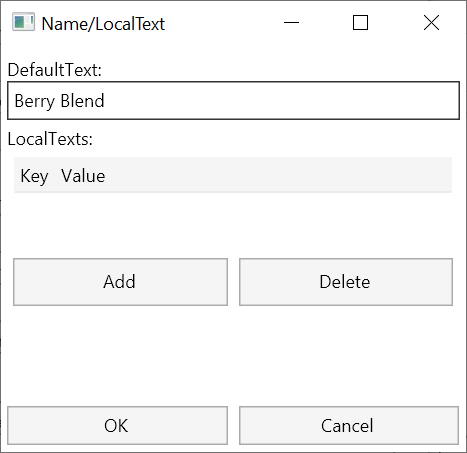
Give it a name.
Click [OK]
Do the same for the description.
Checkmark the “Released” checkbox, allowing the item to spawn.
Change its sprite to Bottle_DarkBlue
Change its Icon to 7: Medicine
Give it a sell price. Let’s go with 100.
Icon number determines which unicode letter is used for the item. A full list of icons can be found in the: Text Guide
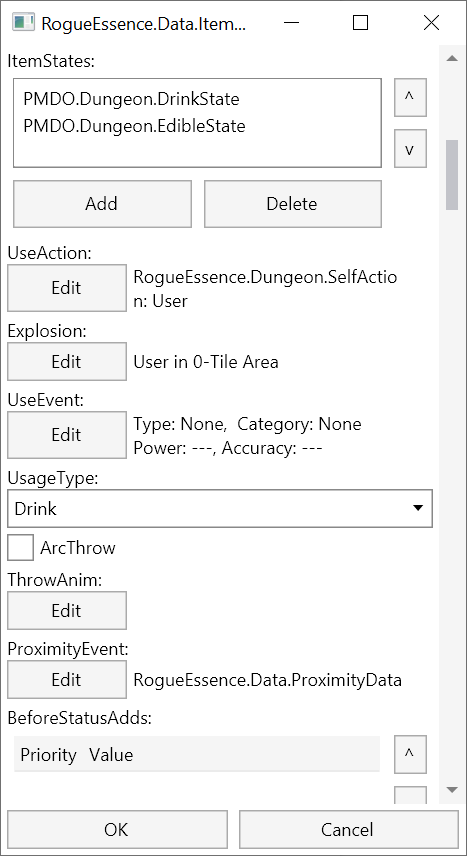
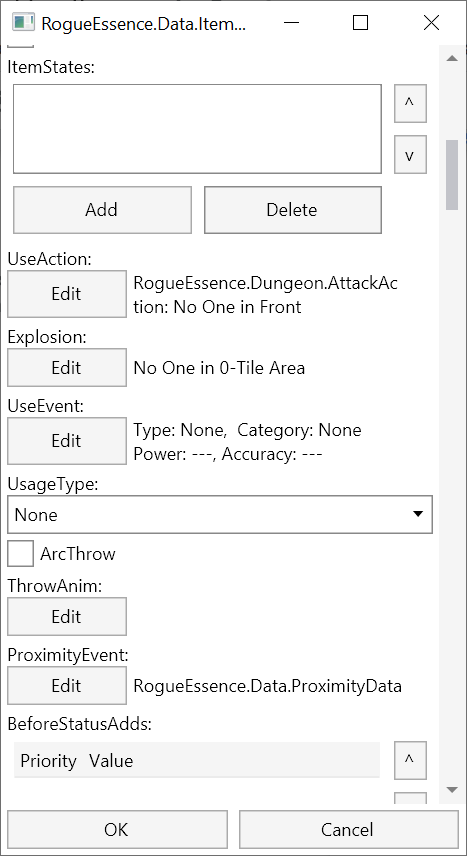
Scroll down and you will see more options to edit.
Everything below BeforeStatusAdds is needed only for Held Items. Since we are making a consumable, we will ignore those.
Since this is an edible item and a drink, add EdibleState and DrinkState to the ItemStates. This will make it eligible for item eating moves such as Bug Bite.
Change the usage type to Drink. This will make the menu option display “Ingest” instead of “Use”.
Click [Edit] on Use Action. The UseAction determines the type of range that USING the item has. Does it affect the user? (Berries) Hits the room? (Orbs) Hits in a straight line? (Wands) Etc. This is NOT for the range used when throwing the item.
Select SelfAction, as using the item only affects the self.
Make sure to set the target to Self only as well.
Click [OK].
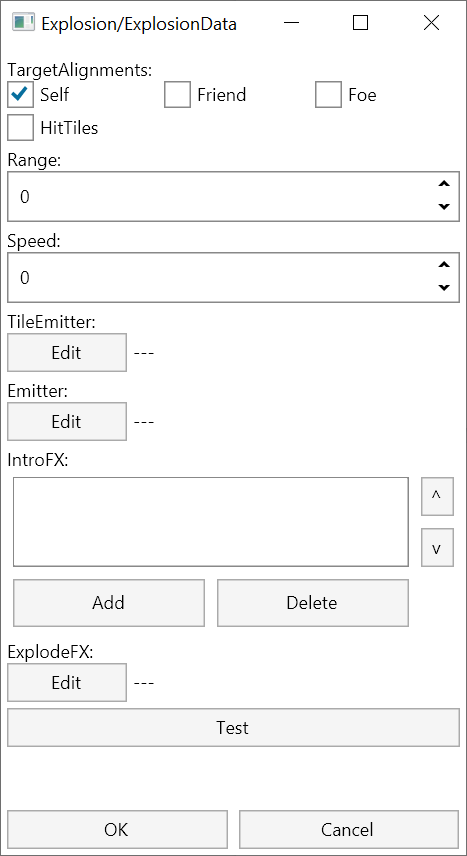
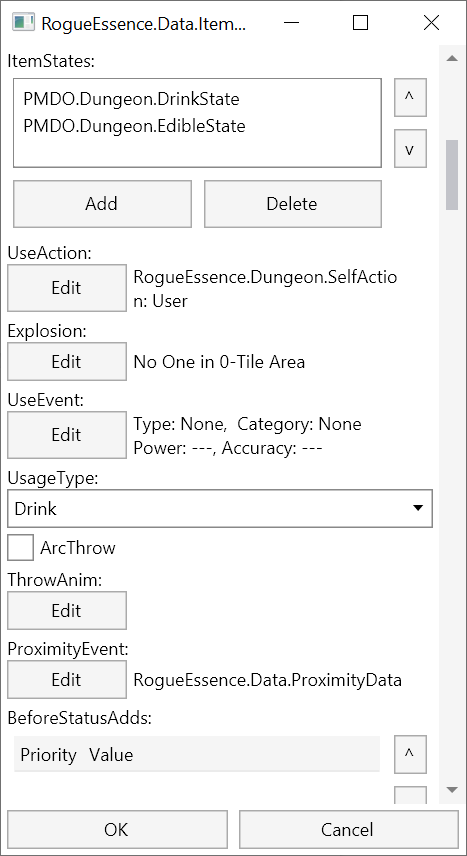
Click [Edit] for Explosion.
This feature is normally used by attacks rather than items. Most items don’t explode, and instead just hit the target.
Select Self in TargetAlignments.
Click [OK].
Click [Edit] for UseEvent.
The UseEvent is the most important part of most items’ design. It determines what effects occur when the item is used.
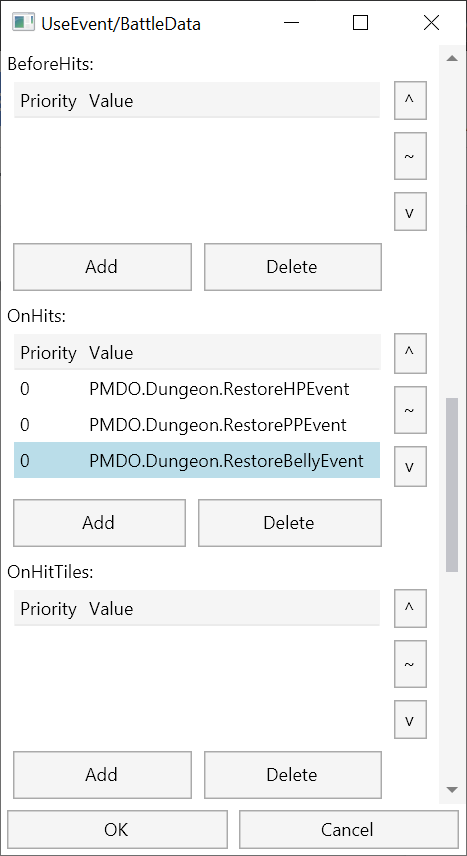
Scroll down to find the OnHits section.
We want to apply 3 effects: Restore HP by 1/2. Restore PP by 10. Restore hunger by 3, because it’s a drink. All 3 effects can be added using OnHits.
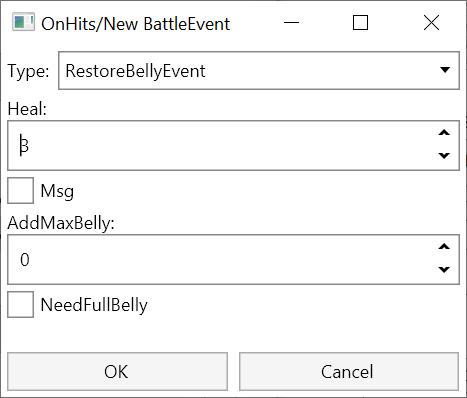
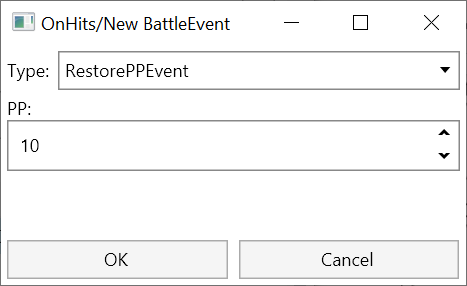
Click [Add] to add a new effect. Add the 3 effects below.
Restore HP by 1/2:
Restore PP by 10:
Restore hunger by 3:
Make sure the order is correct. It will heal those stats in the displayed order. You can change the order by using the arrows on the right.
Scroll down to the bottom where the HitFX appears.
The HitFX determines what animations and sounds trigger when the item affects the target of use. This means the effect of drinking the item when used on oneself, or drinking the item when it’s thrown and hits a target.
Click [Edit] on HitFX.
Set Delay to 15.
Set the Sound to DUN_Drink.
Change the Emitter type to Single Emitter.
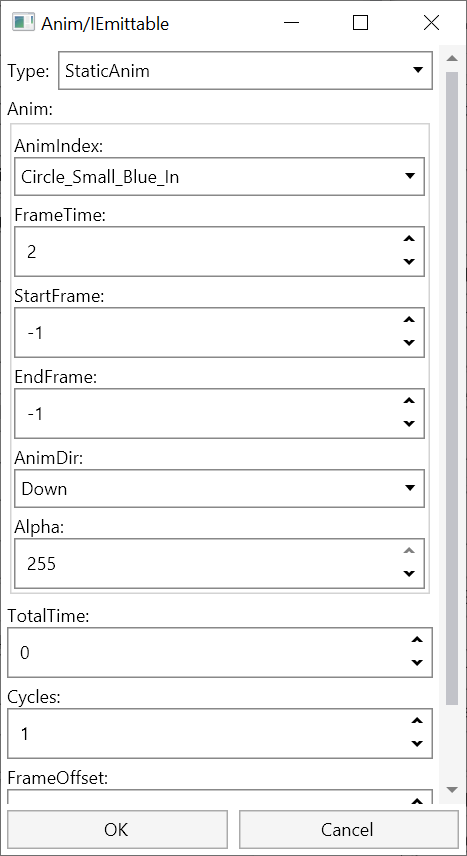
Click [Edit] on Anim.
Choose StaticAnim as the Type.
A StaticAnim is the simplest kind of particle VFX in the game. It just plays an animation.
Set AnimIndex to Circle_Small_Blue_In
Set FrameTime to 2.
Cycles determines how many times the animation repeats.
Set Cycles to 1.
Click [OK]
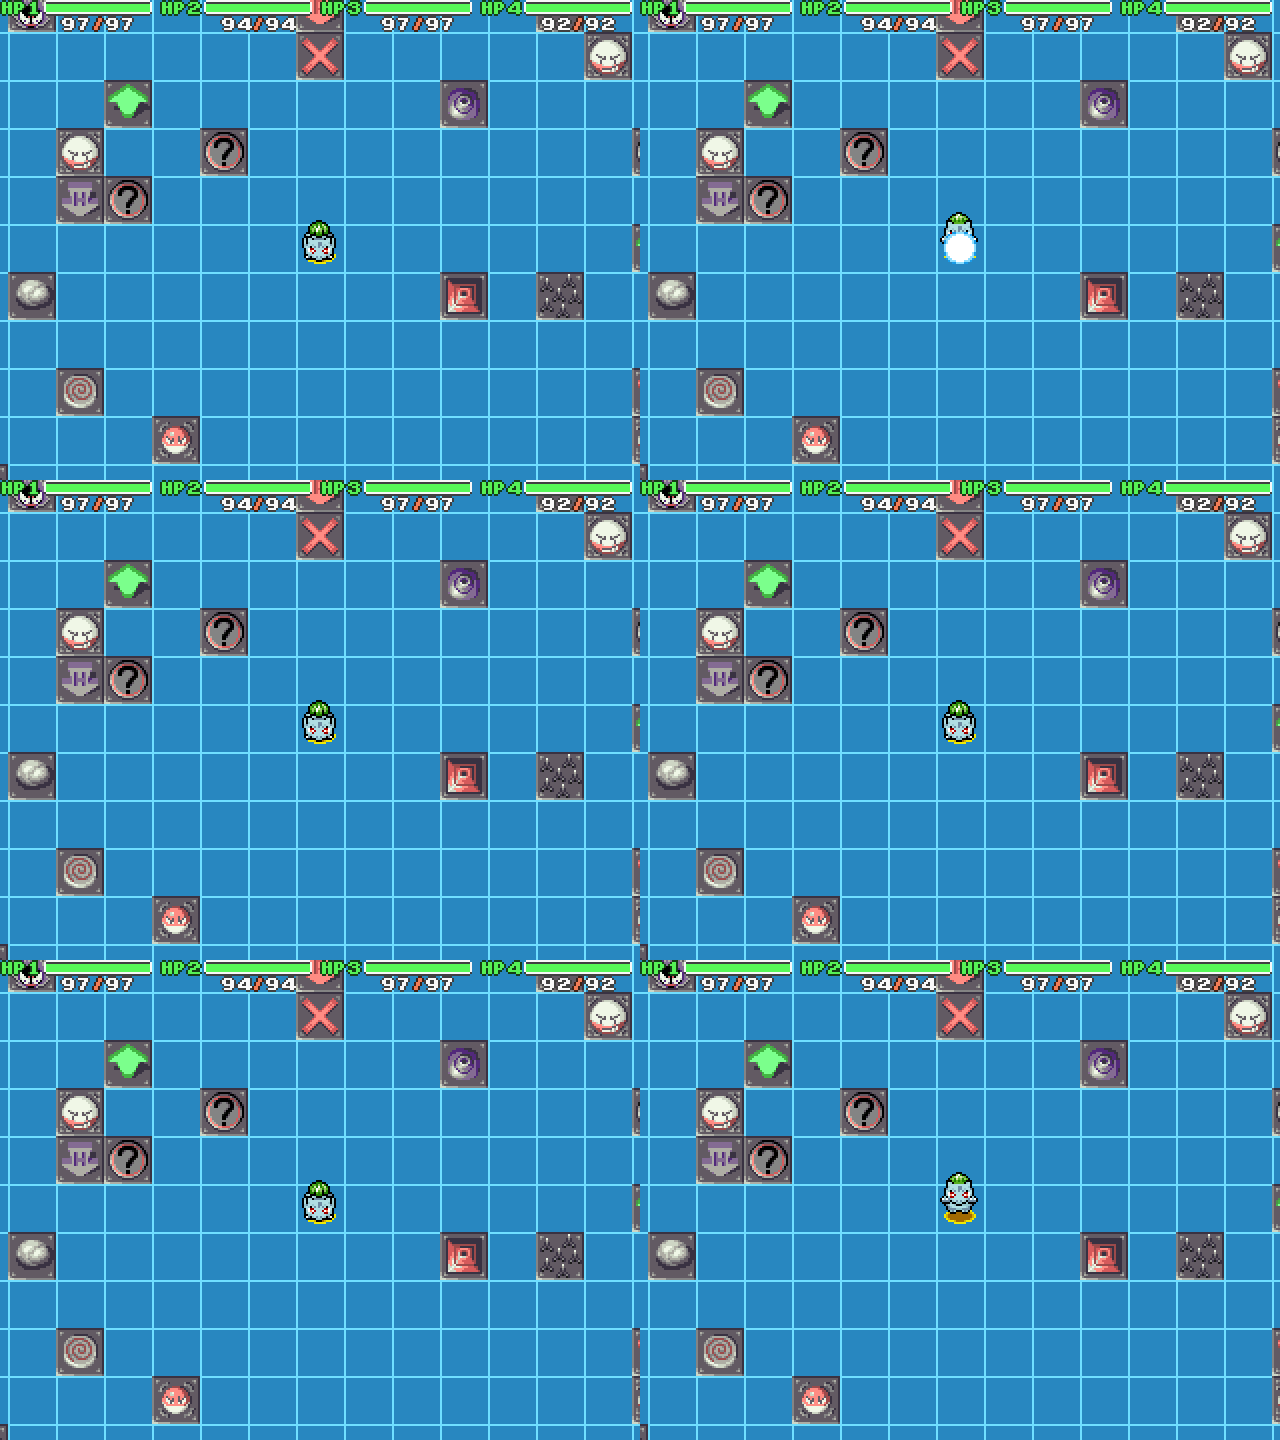
Click [Test].
You should see the simple drinking animation with a sound effect.
Click [OK] through everything else.
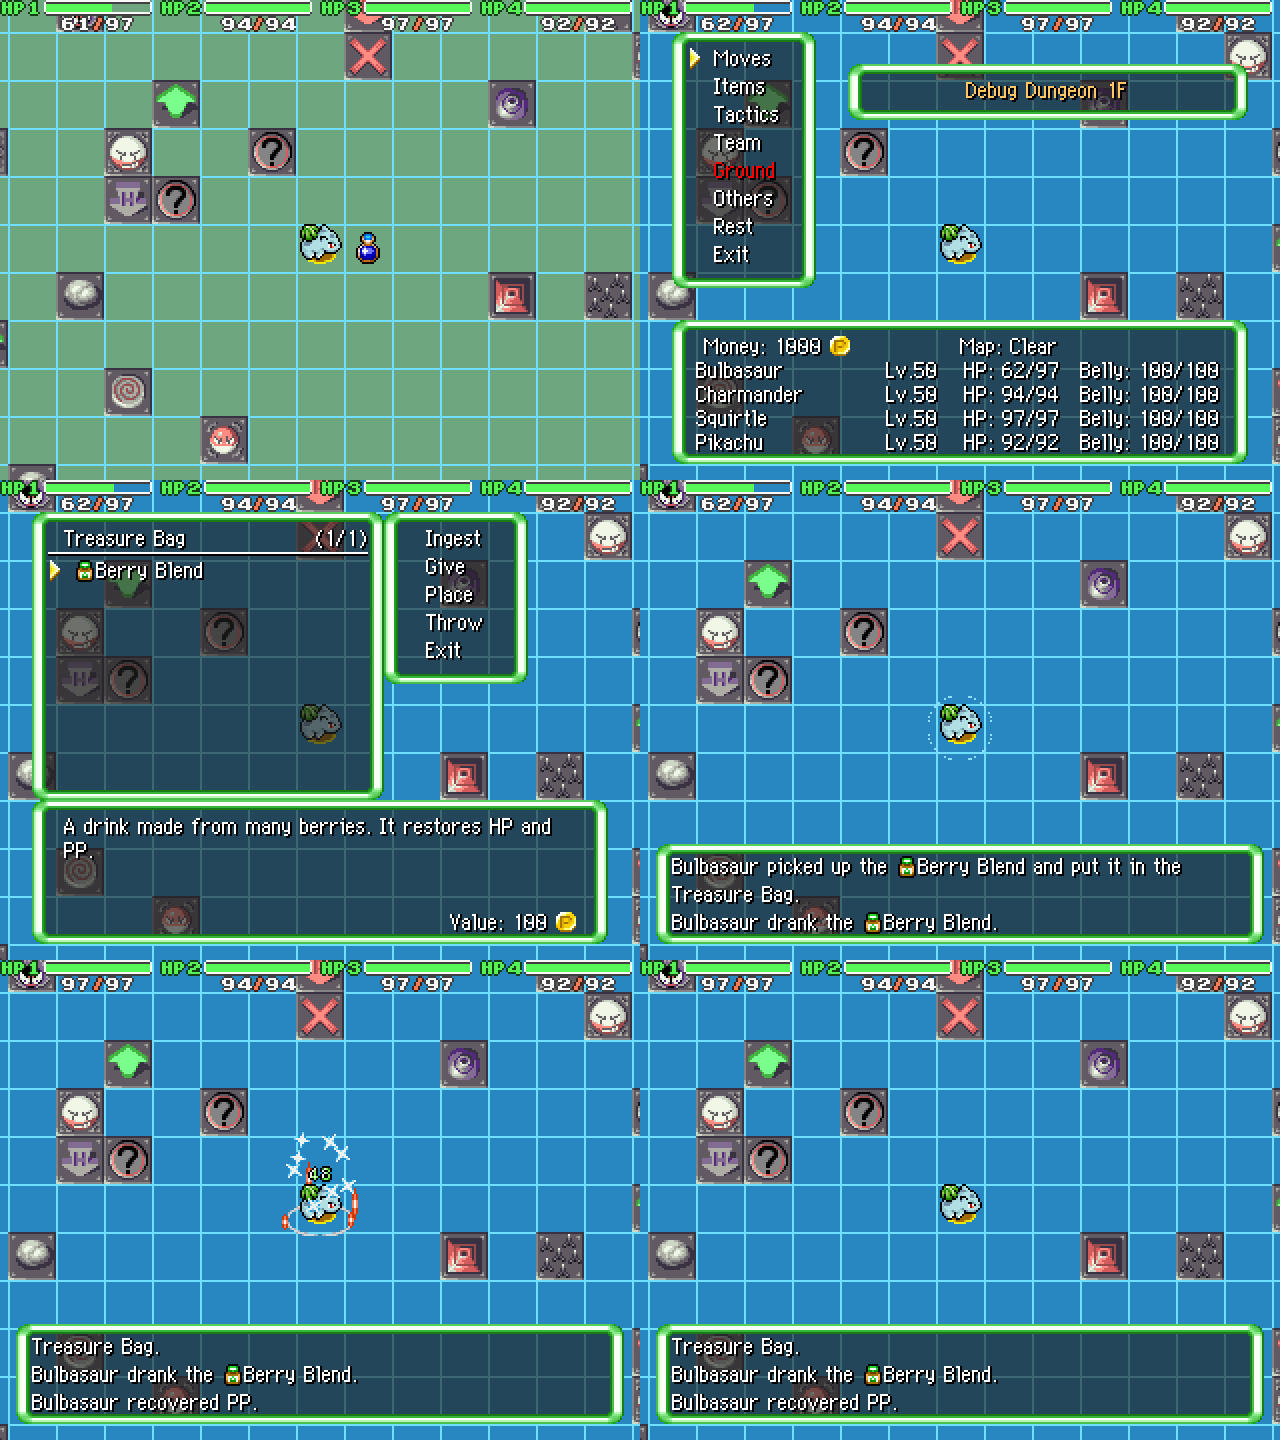
You’ve now finished the item! You can spawn it via the dev panel and try it out!


